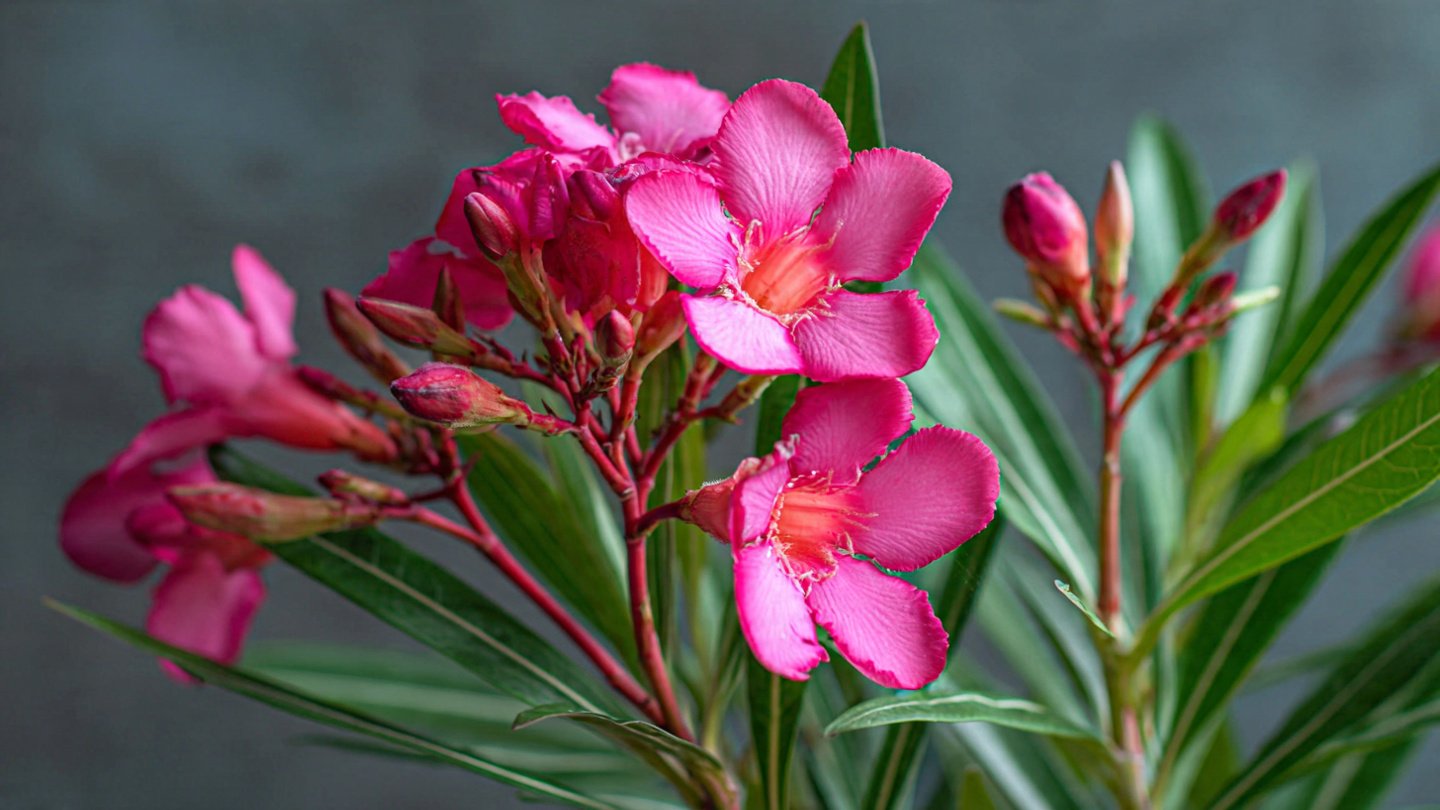
Oleanders (Nerium oleander) are popular ornamental shrubs known for their vibrant, fragrant flowers and hardy nature. They thrive in warm climates, tolerate drought, and are often used as hedges, border plants, or decorative specimens in gardens. While oleanders are easy to maintain once established, propagating new plants from cuttings is one of the fastest, most effective ways to expand your collection or share plants with friends. Cutting propagation is a straightforward process, but understanding the right techniques can dramatically improve rooting success and ensure strong, healthy plants.
Why Propagate Oleanders from Cuttings?
There are several reasons gardeners choose to propagate oleanders from cuttings rather than seeds. First, cuttings produce genetically identical clones of the parent plant, ensuring the same flower color, growth habit, and overall quality. Seeds, by contrast, may produce variable offspring with unpredictable traits.
Second, oleander cuttings root and grow much faster than seedlings, allowing you to establish a mature plant within a single growing season. Finally, cutting propagation is simple, requires minimal equipment, and can be done at home, making it accessible to both novice and experienced gardeners.
Selecting the Right Cutting
The success of oleander propagation begins with selecting the right cutting. Choose healthy, vigorous shoots from a mature parent plant. Semi-hardwood cuttings—those that are partially mature, firm, but still flexible—are ideal. These typically come from the current season’s growth, about four to six inches long, with several sets of leaves.
Avoid using soft, new growth, as it is prone to wilting and slow rooting. Also, avoid old, woody stems, which are less likely to produce roots. Healthy foliage free from disease or pests increases the likelihood of successful propagation.
Timing Your Cuttings
The best time to take oleander cuttings is during late spring to early summer. During this period, the plant is actively growing, increasing the chances of rooting and survival. While cuttings can be taken at other times, they may root more slowly or be less resilient.
Choosing the right season ensures that the cuttings have access to ample sunlight and warmth, both of which support root formation. Avoid extreme heat or frost, as young cuttings are sensitive to environmental stress.
Preparing the Cutting
Once you have selected a suitable shoot, preparation is key. Begin by making a clean, diagonal cut just below a node. The node is the point where leaves attach to the stem, as this is where root initiation is most likely. A sharp, sterilized knife or pruning shears reduces tissue damage and lowers the risk of infection.
Next, remove the lower leaves, leaving only a few at the top. Removing leaves reduces water loss through transpiration and allows the cutting to focus energy on root development. If flowers are present, remove them, as they divert energy away from rooting.
Using Rooting Hormone
While oleanders can root naturally, using a rooting hormone significantly increases success rates and accelerates root formation. Dip the cut end of the stem into a powdered or liquid rooting hormone. This stimulates root cell development and encourages faster establishment in soil or other media.
Ensure that the hormone covers only the lower part of the cutting to prevent excess powder from inhibiting water absorption. Rooting hormones are especially helpful for first-time gardeners or when propagating less vigorous cuttings.
Selecting the Growing Medium
A well-draining growing medium is essential for oleander cuttings. Excess moisture can cause rot, while poor aeration slows root development. Popular choices include a mix of sand and perlite, perlite and peat moss, or commercial propagation mixes designed for cuttings.
The medium should be sterile and free from pests or pathogens to prevent disease. Moistening the soil before planting ensures the cutting has immediate access to water, helping reduce stress during the rooting process.
Planting the Cutting
Plant the prepared cutting in the chosen medium, burying about two inches of the stem. Firm the soil gently around the cutting to provide stability and maintain good contact with the medium. Avoid packing the soil too tightly, as roots need space and air to develop.
If planting multiple cuttings, space them adequately to prevent overcrowding. This improves airflow, reduces the risk of fungal infections, and allows you to monitor each cutting individually.
Providing Proper Light and Temperature
Oleander cuttings require indirect sunlight during the initial rooting phase. Too much direct sun can cause dehydration, while too little light slows growth. A bright, shaded location is ideal.
Maintaining a warm temperature, around 70–75°F (21–24°C), encourages faster root formation. If propagating indoors, using a heat mat or placing the cuttings near a warm window can improve results. Stable temperature and light conditions reduce stress and promote healthy root development.
Maintaining Moisture
Consistent moisture is critical for rooting. Keep the growing medium lightly moist, but avoid waterlogging, which can cause stem or root rot. Using a spray bottle to mist the cuttings or a bottom-watering system helps maintain the ideal moisture level.
Covering the cuttings with a clear plastic dome or bag can create a mini-greenhouse effect, retaining humidity and reducing water loss. Ensure ventilation to prevent fungal growth and allow air circulation.
Monitoring Root Development
Root formation typically begins within two to six weeks, depending on environmental conditions and cutting vigor. Gently tugging on the cutting can indicate progress; resistance suggests that roots are forming. Avoid excessive disturbance, as this can damage delicate new roots.
Once roots are well established, you will notice new leaf growth, indicating that the cutting is ready for transplanting.
Transplanting Rooted Cuttings
After roots have developed, transplant the cuttings into larger containers or directly into the garden. Use a nutrient-rich, well-draining soil mix to support ongoing growth. Gradually acclimate the young plant to outdoor conditions if it has been started indoors, a process known as hardening off.
Transplanting carefully preserves the root system and reduces transplant shock. Maintain consistent watering and provide some shade during the initial period to allow the plant to adjust.
Fertilization and Care After Propagation
Once established, fertilizing the young oleander promotes vigorous growth. Start with a balanced, slow-release fertilizer to provide essential nutrients. Regular watering and monitoring for pests or diseases are essential during the first year, as young plants are more vulnerable.
Pruning may be necessary to shape the plant and encourage bushy growth. Removing weak or damaged branches helps the plant focus energy on healthy development and future flowering.
Common Challenges in Oleander Propagation
While oleander cuttings are relatively easy to root, challenges can arise. Cuttings may fail due to overwatering, poor light, fungal infections, or weak plant material. Using healthy cuttings, providing proper conditions, and maintaining hygiene during the process significantly improve success rates.
Pests such as aphids or mealybugs can also affect young cuttings. Monitoring regularly and taking early action prevents infestations from becoming severe.
Safety Considerations
Oleanders are highly toxic if ingested by humans or pets. Always wear gloves when handling cuttings, wash hands thoroughly after contact, and keep plants out of reach of children or animals. While toxic, oleanders are generally safe to grow when handled responsibly and can add beauty and fragrance to your garden.
Advantages of Propagating by Cuttings
Propagating oleanders by cuttings is faster than growing from seeds, ensures genetic consistency, and allows gardeners to replicate desired traits. This method is cost-effective, requires minimal equipment, and can be performed multiple times throughout the growing season.
Moreover, cuttings allow gardeners to rejuvenate older plants, replace damaged ones, or expand their landscape with minimal effort. With attention to technique, cuttings can produce robust, flowering plants in a single growing season.
Conclusion
Oleander cutting propagation is a simple, efficient method for creating new, healthy plants that mirror the qualities of the parent. By selecting the right cutting, preparing it properly, using rooting hormone, and maintaining optimal conditions for light, temperature, and moisture, gardeners can achieve fast rooting and vigorous growth.
Monitoring progress, transplanting carefully, and providing ongoing care ensures that young plants thrive and eventually produce vibrant flowers. With proper technique, even novice gardeners can successfully propagate oleanders, expanding their garden or sharing these stunning, hardy shrubs with others. Mastering cutting propagation unlocks the full potential of oleanders, making it possible to grow beautiful, flowering plants quickly and reliably.