The carambola tree, commonly known as the starfruit tree, is a tropical treasure prized for its unique star-shaped fruits, refreshing taste, and attractive foliage. Growing a starfruit tree from seed is a rewarding endeavor for gardeners who enjoy a hands-on approach to cultivating fruit trees. While it requires patience and careful attention, the process can be entirely accomplished at home with minimal tools and supplies. This guide provides a comprehensive step-by-step method to grow a carambola tree from seed successfully.
Starting with seeds is the most accessible and cost-effective method to cultivate a starfruit tree. Fresh seeds are essential because they lose viability quickly if dried or stored for long periods. Obtaining seeds from a ripe, high-quality carambola fruit ensures that the genetic material is strong and capable of germination. When selecting fruit, choose one that is fully yellow with a hint of green, firm, and free from blemishes or disease.
Once you have your fruit, extract the seeds carefully. Cut the fruit in half and remove the seeds gently, avoiding damage. Each fruit can provide multiple seeds, giving you several opportunities to grow seedlings. Rinse the seeds under clean water to remove any sticky fruit pulp. This step is crucial because residual pulp can encourage mold growth, which may prevent germination.
After cleaning, the seeds need to be dried lightly before planting. Spread them on a paper towel or a clean plate and let them air dry for one to two days. Avoid prolonged drying as it can reduce the seeds’ ability to germinate. At this stage, some gardeners choose to soak the seeds in lukewarm water for 24 hours. Soaking softens the seed coat and can speed up germination by allowing water to penetrate the seed more easily.
Next, prepare a suitable planting medium. Carambola seeds require a light, well-draining soil to thrive. A mix of peat moss, sand, and garden soil in equal proportions works well. The soil should be free from stones and clumps to allow the delicate roots to grow without obstruction. Using sterilized soil or potting mix can further reduce the risk of fungal infection during germination.
Choose a small pot or seed tray with drainage holes at the bottom. Good drainage is critical to prevent waterlogging, which can cause seeds to rot. Fill the container with the prepared soil, leaving about half an inch from the rim. Make a small indentation, roughly a quarter-inch deep, for each seed. Place the seeds into the indentation and cover lightly with soil. Avoid burying them too deeply, as shallow planting ensures that the seedling can emerge easily.
Water the seeds gently but thoroughly after planting. The soil should be consistently moist but not soggy. Overwatering is a common mistake that can lead to seed rot. Covering the pot with a clear plastic dome or plastic wrap can help maintain humidity and create a mini greenhouse effect, which accelerates germination. Ensure the cover allows some air circulation to prevent mold formation.
Germination can take anywhere from one to three weeks, depending on temperature and seed quality. Starfruit seeds thrive in warm conditions, ideally between 25°C to 30°C (77°F to 86°F). Placing the pot in a bright, indirect sunlight location supports healthy growth without exposing the seeds to excessive heat that could dry out the soil. During this period, monitor soil moisture daily and water gently as needed.
Once seedlings emerge, removing any covering is essential to acclimate the young plants to normal air conditions. Each seedling should have at least two sets of true leaves before transplanting into larger containers. At this stage, the seedlings are delicate and require careful handling. Avoid direct sunlight initially, gradually exposing them to more light over several days to harden them off.
Transplanting the seedlings into larger pots or directly into the ground is the next step. If planting in containers, choose pots that are at least 12 inches deep and wide to accommodate root growth. For outdoor planting, select a location with full sun and well-draining soil. Carambola trees prefer slightly acidic to neutral soil pH, ideally between 5.5 and 6.5. Dig a hole twice the size of the seedling’s root ball, place the seedling gently, and cover with soil. Water thoroughly to settle the roots.
Proper care during the early stages of growth is critical. Watering should be consistent, particularly in dry climates. The soil should remain moist but never waterlogged. Applying a balanced liquid fertilizer every two to three weeks supports strong growth. Avoid high-nitrogen fertilizers in excess, as they encourage foliage over fruit development. Mulching around the base of the seedling helps retain soil moisture, regulate temperature, and suppress weeds.
Pruning is another essential practice, especially when the tree is young. Remove damaged or weak branches to encourage a strong structure. For container-grown trees, trimming helps maintain manageable size and promotes air circulation. Proper pruning reduces the risk of disease and supports healthy fruiting later in the tree’s life.
Pests and diseases can affect carambola seedlings if not monitored. Common issues include aphids, mealybugs, and fungal infections. Inspect the seedlings regularly for signs of infestation, such as yellowing leaves or sticky residue. Organic insecticidal sprays or neem oil can manage pests effectively without harming the young plants. Ensuring adequate spacing between seedlings also reduces the risk of disease spread.
Patience is key when growing carambola from seed. Unlike grafted trees, seed-grown trees may take several years, typically three to five, to produce fruit. However, the reward is significant, as you witness the tree grow from a tiny seedling into a mature fruit-bearing tree. Regular care, sunlight, and optimal watering conditions all contribute to eventual fruit production.
Eventually, the tree will flower, producing small yellow blossoms that are highly fragrant. Pollination is necessary for fruit development, and in outdoor settings, bees and other insects assist in this process. In indoor or greenhouse environments, hand pollination may be required using a small brush to transfer pollen from one flower to another. Successful pollination leads to the formation of star-shaped fruits that gradually turn golden yellow as they ripen.
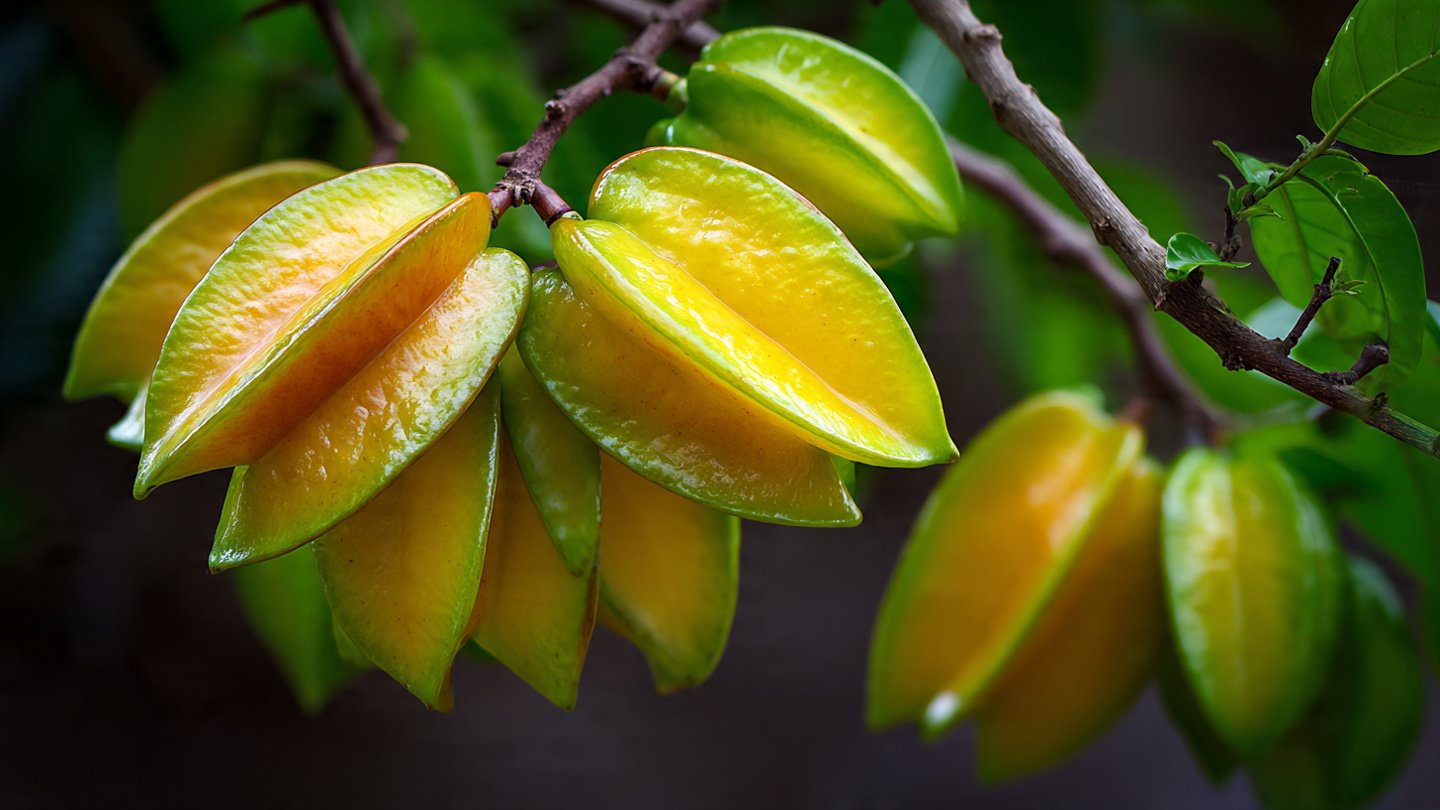
Harvesting starfruit requires careful timing. Fruits are ready when they are fully yellow and slightly soft to touch, with the five characteristic ridges forming crisp star points. Picking too early results in sour, underdeveloped fruit, while leaving them too long may cause over-ripening and reduced shelf life. Handling the fruit gently prevents bruising and ensures maximum quality.
Growing a carambola tree from seed offers multiple benefits beyond fruit production. It provides a sustainable way to propagate trees, reduces reliance on nurseries, and can be a fun and educational experience for home gardeners. Seed-grown trees can also develop more vigorous root systems compared to grafted plants, leading to greater resilience in various growing conditions.
In conclusion, growing a carambola tree from seed is a practical and rewarding DIY project. By selecting fresh seeds, preparing well-draining soil, maintaining consistent moisture, providing adequate sunlight, and monitoring for pests, you can cultivate a healthy tree capable of producing star-shaped fruits in a few years. With patience, careful attention, and proper care, your homegrown starfruit tree can become a highlight of your garden, offering delicious fruit and a beautiful tropical aesthetic for years to come.