Terracotta pots have been a staple in gardening for centuries. Their natural, rustic look and excellent breathability make them perfect for plants ranging from succulents to vegetables. However, over time, terracotta can accumulate mineral deposits, dirt, and stubborn stains that affect both appearance and function. A simple solution—soaking your pots in vinegar—can rejuvenate them, restoring their natural beauty and enhancing plant health. This guide explores how a vinegar soak works, why it’s effective, and step-by-step instructions for transforming your terracotta pots.
Understanding Terracotta and Its Challenges
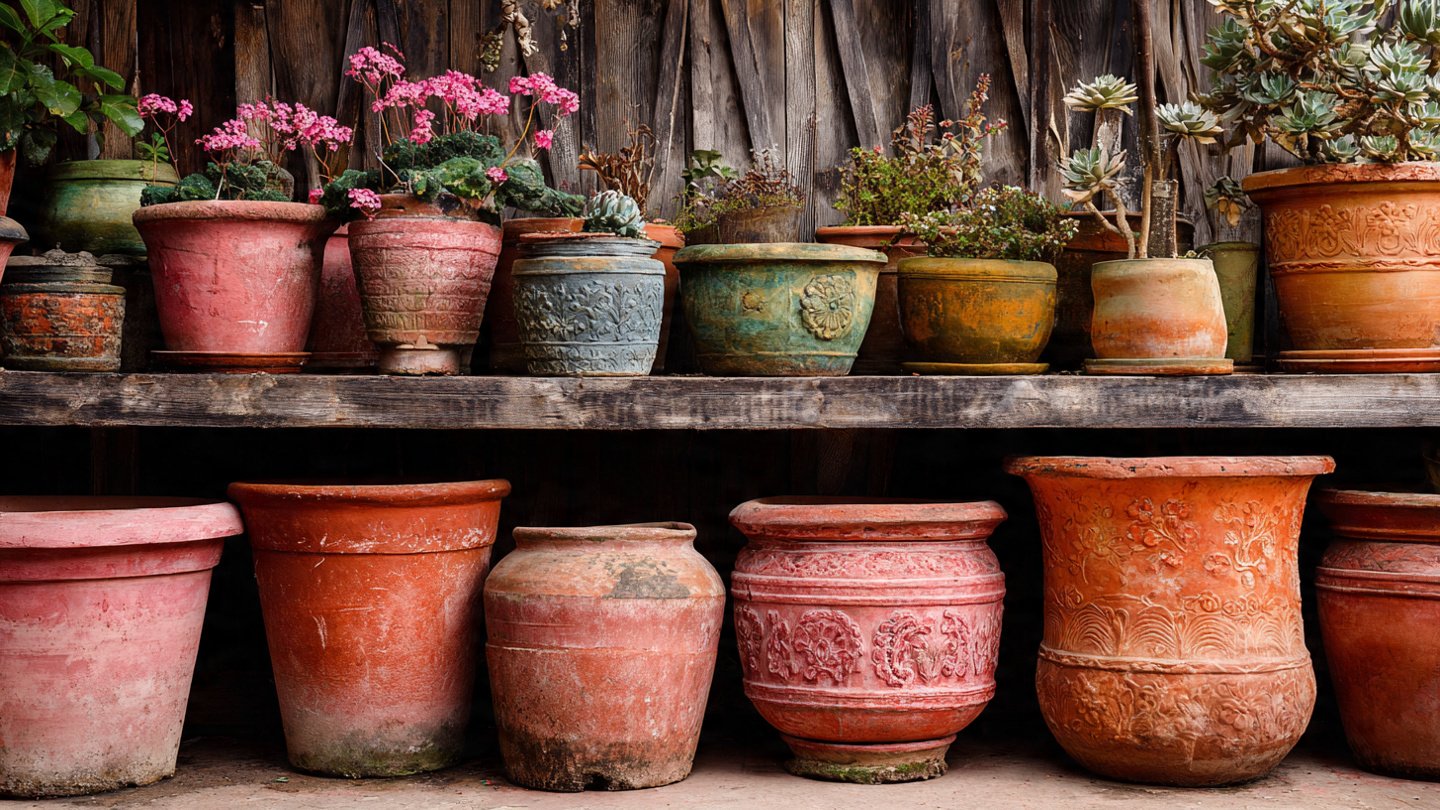
Terracotta, derived from baked clay, is porous, allowing air and water to move freely through the walls of the pot. This porosity helps prevent root rot and supports healthy plant growth. However, it also makes terracotta susceptible to:
- Mineral Buildup: Over time, calcium and lime from tap water or fertilizers accumulate on the surface, creating a white, chalky appearance.
- Soil Stains: Water, fertilizer, and organic matter can leave dark or greenish stains.
- Algae and Mold Growth: Porous surfaces retain moisture, making terracotta a breeding ground for algae and mildew, particularly in humid conditions.
- Dull Appearance: Old pots lose their warm, reddish-brown color and look faded and weathered.
These issues are not just cosmetic. Heavy mineral deposits can reduce the pot’s porosity, affecting water absorption and airflow to roots. Therefore, maintaining terracotta pots is essential for both aesthetics and plant health.
Why Vinegar Works on Terracotta
Vinegar is a mild acid, typically containing 5–8% acetic acid, which reacts with alkaline mineral deposits such as calcium carbonate. The reaction dissolves the minerals, loosening stubborn stains and restoring the pot’s natural surface. Specifically, vinegar:
- Removes White Mineral Deposits: Dissolves chalky calcium and lime buildup.
- Cleans Stains: Helps lift organic stains caused by soil, fertilizer, and algae.
- Restores Porosity: By eliminating mineral blockages, vinegar allows water and air to move freely again.
- Safe and Eco-Friendly: Unlike harsh chemical cleaners, vinegar is non-toxic and biodegradable.
This makes a vinegar soak an accessible, affordable, and environmentally friendly method for rejuvenating terracotta pots.
Preparing for a Vinegar Soak
Before soaking, you need to prepare your pots and workspace. Follow these steps:
- Empty the Pots: Remove any soil, roots, or debris. A stiff brush can help remove compacted dirt.
- Inspect for Damage: Check for cracks or chips. While vinegar won’t repair structural damage, it will highlight weak areas.
- Choose a Soaking Container: Use a bucket, basin, or sink large enough to submerge your pot fully. Plastic containers are ideal since vinegar can react with some metals.
- Wear Gloves: Vinegar can irritate skin, and mineral deposits may be sharp or abrasive.
Proper preparation ensures safety and maximizes the effectiveness of the vinegar soak.
Step-by-Step Vinegar Soak Process
Transforming terracotta pots with vinegar is straightforward. Here’s how to do it effectively:
Step 1: Prepare the Vinegar Solution
Mix one part white vinegar with one part water in your soaking container. For heavily mineralized pots, you can use undiluted vinegar. The acid concentration determines how effectively mineral deposits dissolve.
Step 2: Submerge the Pots
Fully immerse the terracotta pots in the vinegar solution. If your pots are too large, fill them with the solution instead, ensuring the inside walls are fully coated.
Step 3: Soak
Allow the pots to soak for 30 minutes to several hours. Lightly stained pots may only require a short soak, while older pots with heavy deposits may need overnight soaking.
Step 4: Scrub the Surface
After soaking, use a stiff brush, scrub pad, or sponge to remove loosened mineral deposits and dirt. Focus on areas with heavy buildup, such as rims, drainage holes, and outer walls. Avoid wire brushes that may scratch the surface excessively.
Step 5: Rinse Thoroughly
Rinse the pots with clean water to remove vinegar and dissolved minerals. Multiple rinses may be necessary to ensure all residues are washed away.
Step 6: Dry Completely
Allow pots to air dry completely before reusing. Sunlight can help speed up drying and restore the warm terracotta color. Ensure no moisture remains in cracks or pores, as this can promote mold growth later.
Tips for Maximum Effectiveness
- Repeat for Stubborn Deposits: Extremely hard mineral buildup may require multiple soaks.
- Use Boiling Vinegar for Tough Stains: Heat vinegar slightly (do not boil) for an enhanced reaction with mineral deposits.
- Scrub Gently: Aggressive scrubbing can damage the terracotta. Patience yields the best results.
- Combine with Baking Soda for Algae: After vinegar treatment, sprinkle baking soda on green algae stains and scrub lightly for additional cleaning.
- Protect Your Workspace: Vinegar can discolor surfaces. Use a tray or old towel under your pots.
Benefits Beyond Cleaning
A vinegar soak does more than just clean your pots. It enhances their functionality and longevity:
- Improved Water Absorption: Removing mineral buildup restores the porous nature of terracotta, ensuring roots receive adequate moisture.
- Healthier Plants: Clean, breathable pots reduce root stress, promote aeration, and minimize fungal or bacterial growth.
- Restored Appearance: Terracotta regains its natural reddish-orange hue, enhancing garden aesthetics.
- Prolonged Pot Life: Regular maintenance prevents long-term damage caused by mineral deposits and mold.
By investing a small amount of time in vinegar soaking, gardeners can improve both the beauty and performance of their terracotta pots.
Preventing Future Mineral Buildup
After revitalizing your pots, it’s wise to take preventive measures:
- Use Filtered Water: Tap water with high mineral content contributes to white buildup.
- Regular Cleaning: Wash pots at the end of each growing season to prevent accumulation.
- Apply a Pot Liner or Barrier: Using a plastic liner or barrier for indoor pots reduces direct contact with mineral-rich water.
- Rotate Pots: If outdoors, occasionally move pots to avoid constant wetting in the same area, which accelerates staining.
Proactive care reduces the frequency of intensive vinegar treatments, keeping pots looking beautiful year-round.
Other Household Alternatives
While vinegar is effective, other household items can complement or replace it in certain situations:
- Lemon Juice: Contains citric acid and works similarly to vinegar on mineral deposits.
- Baking Soda Paste: Mildly abrasive and excellent for scrubbing stubborn stains.
- Hydrogen Peroxide: Useful for removing algae or mold, especially in combination with scrubbing.
These alternatives can be used alongside vinegar treatments or for routine maintenance.
Safety Considerations
When using vinegar or any acidic solution:
- Avoid mixing vinegar with bleach or other household chemicals, which can produce toxic fumes.
- Work in a well-ventilated area to avoid irritation from strong odors.
- Store leftover vinegar solutions safely, out of reach of children and pets.
Following these safety guidelines ensures a risk-free cleaning process.
Conclusion
A vinegar soak is a simple, effective, and environmentally friendly method to transform terracotta pots. By dissolving mineral deposits, lifting stains, and restoring porosity, vinegar not only rejuvenates the pots’ appearance but also improves their functionality. Regular vinegar treatments, combined with preventive measures like filtered water and routine cleaning, extend the life of terracotta pots and support healthy plant growth.
Whether you’re a seasoned gardener or just starting, this inexpensive technique allows you to maintain beautiful, functional pots without harsh chemicals or expensive products. With a few household ingredients, patience, and proper technique, your terracotta pots can be restored to their original charm, providing a healthy home for your plants season after season.
In essence, a vinegar soak is more than a cleaning hack—it’s a transformative practice that revitalizes your garden and enhances your planting experience. By incorporating this method into your gardening routine, you can enjoy lush, vibrant plants thriving in pristine, rejuvenated pots, ensuring both beauty and health for years to come.