Potatoes are one of the world’s most popular and versatile vegetables. While they are traditionally grown in fields, did you know you can cultivate healthy, high-yielding potatoes at home on your terrace? Terrace gardening has become increasingly popular, especially in urban areas where space is limited. With the right containers, soil, and care, you can grow potatoes in small spaces and enjoy a fresh, chemical-free harvest. This complete step-by-step guide will help you produce abundant tubers, even if you have little gardening experience.
Why Grow Potatoes at Home?
Homegrown potatoes offer several advantages over store-bought varieties:
- Freshness and quality: You control the growth environment, ensuring chemical-free, nutritious tubers.
- Cost-effective: Potatoes grown at home are cheaper than buying in bulk from stores.
- Space efficiency: Terrace gardening allows you to grow potatoes vertically or in containers.
- Satisfaction: Growing your own food is rewarding and educational.
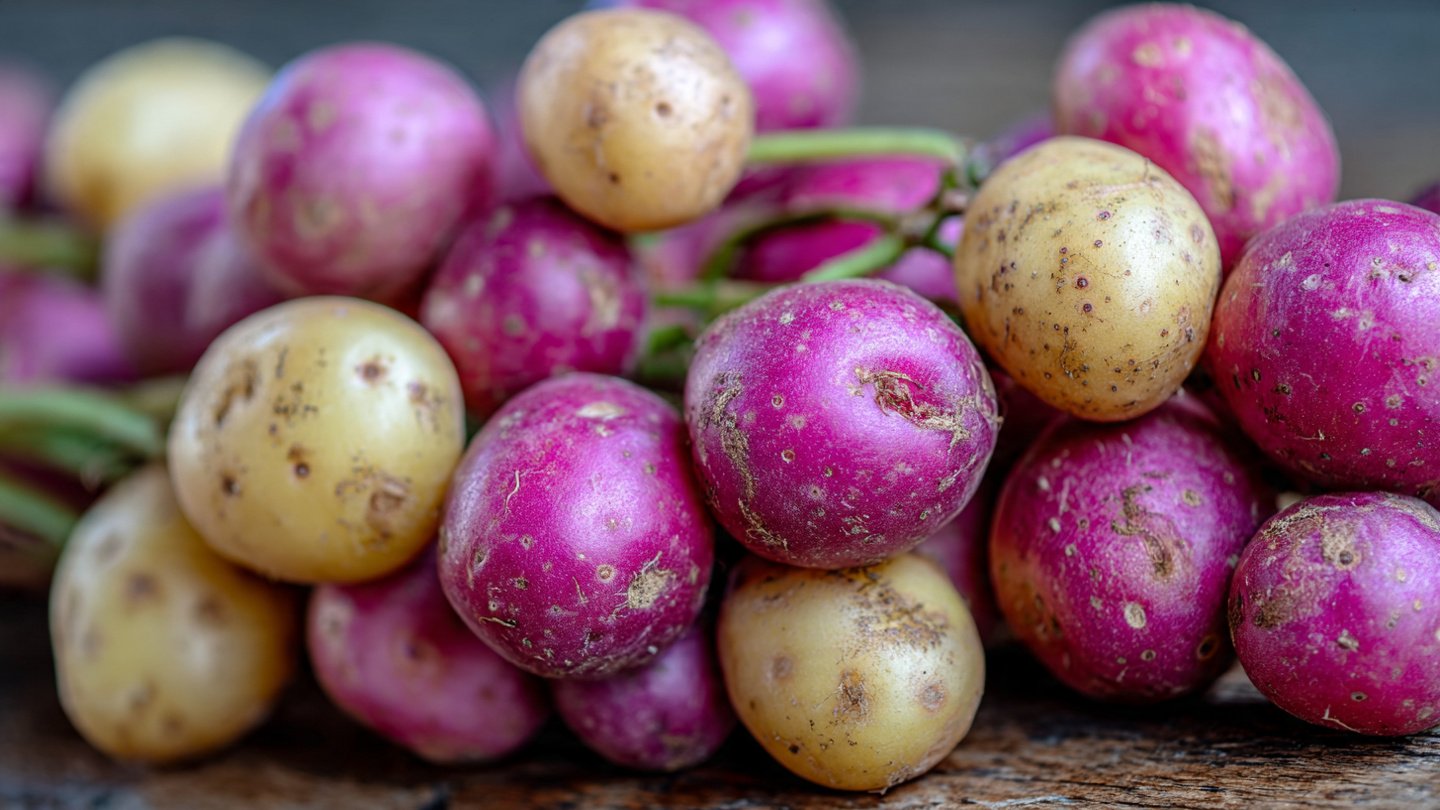
- Variety: You can grow different potato varieties, including red, white, or specialty types, to suit your taste and culinary needs.
With these benefits, terrace-grown potatoes become an excellent option for urban households seeking self-sufficiency.
Choosing the Right Potato Variety
Selecting the appropriate variety is critical for success. Consider the following:
- Early varieties: These mature in 60–90 days and produce smaller, tender tubers. Examples include ‘Red Pontiac’ and ‘Yukon Gold’.
- Main-season varieties: Mature in 90–120 days and produce larger tubers, suitable for storage. Examples include ‘Kennebec’ and ‘Desiree’.
- Small-space varieties: Some potatoes are specially bred for container growing, producing compact plants with multiple tubers.
Certified seed potatoes are recommended over store-bought potatoes to reduce the risk of disease and improve yield.
Preparing Containers and Terrace Space
Potatoes require space for tuber development, but terrace gardening offers several container options:
- Large pots: 12–15 inches deep and wide, providing room for roots and tubers.
- Grow bags: Flexible, breathable, and ideal for vertical stacking.
- Plastic crates or buckets: Ensure drainage holes are added at the bottom.
- Wooden boxes: Durable and spacious, though they must be treated to prevent rot.
The key is to choose containers with good drainage and sufficient depth to allow tubers to develop fully.
Preparing Seed Potatoes
Seed preparation is crucial for strong growth:
- Cutting: If the seed potato is large, cut it into pieces with at least one or two “eyes” per piece.
- Curing: Allow cut pieces to air-dry for 24–48 hours to form a protective callus.
- Sprouting: Place seed pieces in a bright, cool area to encourage small sprouts before planting. Sprouted seeds produce faster-growing plants and higher yields.
Using healthy, disease-free seeds ensures strong, productive plants.
Choosing and Preparing the Soil
Potatoes thrive in well-drained, fertile soil with good aeration. Ideal soil should be loose, rich in organic matter, and slightly acidic (pH 5.5–6.5). For terrace gardening:
- Mix soil: Combine garden soil, compost, and well-rotted manure in equal parts. This provides nutrients and retains moisture.
- Avoid heavy clay: Dense soil restricts tuber growth and can cause waterlogging.
- Add sand: For better drainage, mix 10–20% coarse sand into the soil.
Healthy soil promotes root development, reduces disease risk, and supports high tuber production.
Step-by-Step Planting Guide
Step 1: Fill the Container
Start by filling your container with 4–6 inches of prepared soil mix. This serves as a base layer for planting the seed potatoes.
Step 2: Plant Seed Potatoes
Place seed potato pieces with the sprouts facing upwards. Keep a spacing of 6–8 inches between pieces. Cover the seeds with 2–3 inches of soil, leaving room for future hilling.
Step 3: Water Gently
Immediately water the soil to settle it around the seed potatoes. Keep the soil moist but not waterlogged, as excess water can lead to rot.
Step 4: Add Supports or Stacking (Optional)
If using grow bags or large containers, you can add more soil as plants grow, a process called “hilling.” This encourages more tuber formation along the buried stems.
Caring for Terrace-Grown Potatoes
Proper care is essential to maximize yield:
Watering
- Maintain consistent moisture throughout the growing season.
- Water deeply once or twice a week, depending on temperature and container size.
- Avoid wetting leaves to reduce the risk of fungal diseases.
Fertilization
Potatoes benefit from periodic feeding:
- Use a balanced fertilizer (NPK 10:10:10) every 2–3 weeks.
- Stop nitrogen-heavy fertilization after flowering to encourage tuber formation rather than leafy growth.
- Organic options such as compost tea or vermicompost also work well.
Hilling
As potato plants grow 6–8 inches above the soil, add more soil around the base to cover lower stems. Hilling:
- Protects tubers from sunlight (prevents greening).
- Encourages new tubers to form along buried stems.
- Supports upright growth and prevents stems from toppling.
Repeat hilling 2–3 times during the growing season until the container is nearly full.
Pest and Disease Management
Common pests and diseases include:
- Colorado potato beetles, aphids, and leaf miners: Inspect leaves regularly and remove pests manually or use neem oil.
- Late blight and early blight: Maintain good airflow, avoid overhead watering, and remove affected leaves promptly.
- Powdery mildew: Ensure sunlight exposure and avoid excessive moisture.
Preventive care and monitoring reduce the risk of yield loss.
Flowering and Pollination
Potatoes produce small flowers, which indicate tuber formation below the soil. While potatoes are self-pollinating, flowers attract bees and beneficial insects, improving overall plant health.
Encourage flowering by:
- Ensuring full sun exposure.
- Maintaining consistent moisture and nutrient supply.
- Avoiding heavy pruning that removes flowering stems.
Harvesting Potatoes
Harvest time depends on whether you want new potatoes or mature tubers:
- New potatoes: Harvest 60–70 days after planting, when plants flower. These are smaller, tender, and ideal for boiling or salads.
- Mature potatoes: Wait until the plant foliage turns yellow and begins to die back (80–100 days for most varieties). This ensures larger tubers suitable for storage.
Harvesting steps:
- Gently remove soil from around the base.
- Carefully lift the plant to avoid bruising tubers.
- Brush off excess soil and allow tubers to cure in a cool, dry place for 1–2 days before storage.
Storage Tips
Proper storage keeps potatoes fresh for weeks:
- Store in a cool, dark, and well-ventilated area.
- Avoid plastic bags, which trap moisture and promote rot.
- Separate damaged or bruised tubers to prevent spoilage.
With these practices, terrace-grown potatoes can provide a continuous supply of fresh tubers throughout the season.
Maximizing Yield in Small Spaces
Terrace gardening allows creative ways to increase potato production:
- Vertical stacking: Use grow bags stacked in layers to expand planting space.
- Companion planting: Plant leafy greens around potato containers to maximize use of terrace space.
- Multiple containers: Plant in staggered batches for a continuous harvest.
Even limited terrace space can produce a surprisingly large harvest with these strategies.
Conclusion
Growing potatoes at home on your terrace is not only feasible but also highly rewarding. By selecting the right variety, preparing fertile soil, using suitable containers, and following proper planting, hilling, and maintenance techniques, you can produce abundant, healthy tubers even in small urban spaces. Terrace gardening eliminates the need for large plots, ensures chemical-free produce, and gives you fresh, flavorful potatoes right at your doorstep.
With patience, care, and consistent attention to watering, fertilization, and pest management, you can enjoy a bountiful potato harvest season after season. Whether you are a beginner or an experienced gardener, terrace-grown potatoes offer a fun, educational, and productive addition to your home garden. By following this step-by-step guide, your terrace can become a thriving space full of nutritious, delicious, homegrown potatoes.