Queen cabbage, known for its deep, rich color and crisp, flavorful leaves, is a remarkable addition to any home garden. Unlike standard green cabbage, dark and specialty cabbages offer a unique visual appeal and nutrient profile, making them both a culinary and nutritional delight. Growing these varieties at home may seem intimidating at first, but with the right guidance, anyone can cultivate healthy, vibrant heads of cabbage in their backyard or even in containers. This article will provide a comprehensive guide to successfully grow queen cabbage at home, covering everything from selection to harvest and care.
Why Grow Queen Cabbage at Home?
Queen cabbage stands out because of its unique color, flavor, and versatility. These dark and specialty cabbages are not only visually appealing but also packed with vitamins, minerals, and antioxidants. Home gardening allows you to control the growing conditions, ensuring that your cabbage is organic, fresh, and free from chemical residues often found in store-bought vegetables. Moreover, growing cabbage at home can be a rewarding experience, providing a sense of accomplishment and a constant supply of fresh produce for your kitchen.
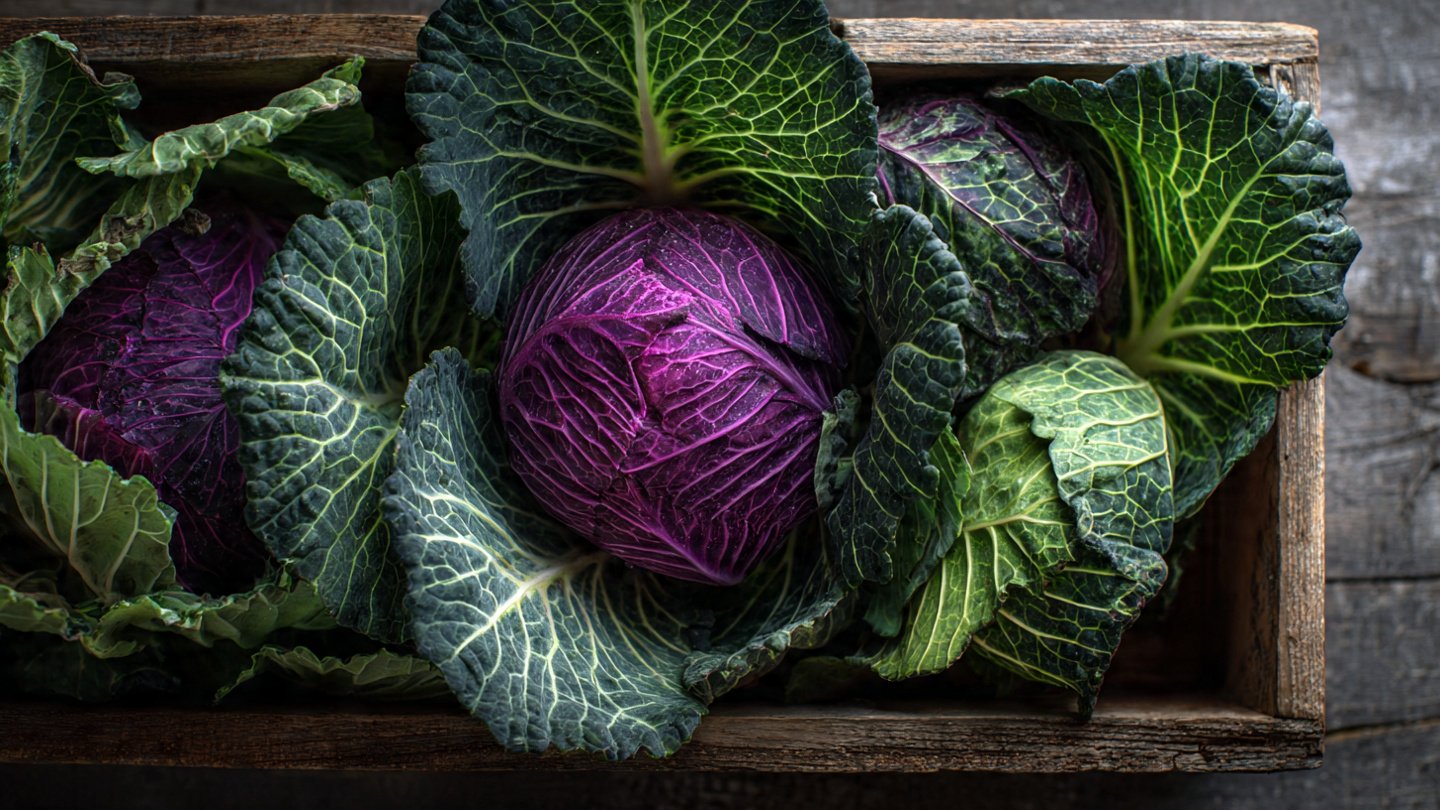
Specialty cabbages like purple, red, and savoy varieties also bring diversity to your garden. Their colors can brighten garden beds and your meals, while their slightly different textures and flavors can enhance salads, stir-fries, and fermented dishes like sauerkraut.
Selecting the Right Queen Cabbage Variety
The first step to growing successful queen cabbage is selecting the right variety. Popular dark and specialty cabbages include:
- Red Drumhead – Known for its deep purple-red leaves and round shape, this variety is ideal for fresh salads or pickling.
- Savoy Queen – Recognizable by its crinkled, tender leaves, this cabbage has a milder flavor and is excellent for cooking.
- January King – A versatile winter cabbage with a bluish-green exterior and sweet, firm leaves.
- Gothic Red – Striking deep purple leaves that add visual flair to any dish.
When choosing a variety, consider your growing season, climate, and intended use. Some varieties are more cold-hardy, while others thrive in warmer conditions.
Preparing the Soil
Queen cabbage thrives in fertile, well-draining soil with a pH of 6.0 to 7.5. Before planting, enrich your garden bed or container soil with compost or well-rotted organic matter to ensure proper nutrition. Cabbage has a deep root system, so loose, aerated soil is essential for healthy growth. Avoid heavy clay soils that retain water, as excessive moisture can lead to root rot.
Raised beds or containers are excellent choices for home gardeners, especially for those with limited space. Ensure that containers are at least 12 inches deep and have proper drainage holes.
Starting Seeds Indoors
For an early start, it is best to begin queen cabbage seeds indoors. Sow seeds about ¼ inch deep in seed trays filled with a quality seed-starting mix. Maintain a temperature of 65–75°F (18–24°C) and keep the soil consistently moist but not waterlogged.
Seeds usually germinate within 7–14 days. Once seedlings develop two to three true leaves, they can be carefully transplanted into larger pots to encourage strong root development before moving them outdoors.
Transplanting to the Garden
When seedlings reach 4–6 weeks old and the outdoor soil temperature is consistently above 50°F (10°C), it is time to transplant them into the garden or larger containers. Space each plant 12–24 inches apart, depending on the variety, to give them enough room to grow.
Choose a location that receives full sun for at least 6–8 hours a day. While cabbage can tolerate partial shade, full sun ensures maximum leaf development and vibrant coloration, especially for dark and specialty varieties.
Watering and Feeding
Cabbage requires consistent moisture for optimal growth. Water deeply once or twice a week, depending on rainfall, ensuring the soil remains evenly moist. Mulching around the plants can help retain soil moisture, regulate temperature, and suppress weeds.
Fertilization is crucial for leafy vegetables like cabbage. Use a balanced organic fertilizer or compost tea every 3–4 weeks. High-nitrogen fertilizers encourage leafy growth, but too much nitrogen may reduce head formation, so follow recommended guidelines for your chosen variety.
Pest and Disease Management
Home gardeners often encounter pests like cabbage worms, aphids, and slugs. Physical barriers, such as row covers or netting, can prevent infestations. Handpicking pests and introducing beneficial insects like ladybugs can also reduce pest populations.
Cabbage is susceptible to diseases such as clubroot, black rot, and downy mildew. To minimize disease risks, rotate crops yearly, avoid planting cabbage in the same soil consecutively, and water at the base rather than overhead to keep leaves dry.
Harvesting Queen Cabbage
Queen cabbage is typically ready for harvest 70–100 days after transplanting, depending on the variety. A head is ready when it feels firm and dense when gently squeezed. Cut the cabbage at the base using a sharp knife, leaving outer leaves and roots in the soil if you plan to encourage secondary growth.
For red and purple varieties, avoid waiting too long, as prolonged exposure to frost or hot weather can cause color fading or leaf splitting. Early harvest ensures optimal flavor and texture.
Storing and Using Your Harvest
Freshly harvested cabbage can be stored for several weeks in a cool, humid environment. Wrap heads in a damp cloth or place them in perforated plastic bags in the refrigerator.
Dark and specialty cabbages are highly versatile in the kitchen. They can be eaten raw in salads, sautéed as a side dish, incorporated into soups, or fermented into colorful sauerkraut. Their rich pigments not only enhance dishes visually but also indicate high levels of antioxidants, particularly anthocyanins in red and purple varieties.
Tips for Success
- Succession Planting: Plant seeds every few weeks for a continuous harvest throughout the growing season.
- Companion Planting: Grow cabbage near herbs like dill or chamomile to repel pests naturally. Avoid planting near tomatoes or strawberries, which may compete for nutrients.
- Sunlight and Shade Balance: While cabbages prefer full sun, providing some afternoon shade in hot climates can prevent leaf scorching.
- Regular Monitoring: Check your plants weekly for pests, diseases, or nutrient deficiencies to address issues early.
- Harvest Timing: Harvest early in the morning when leaves are crisp and full of moisture for the best taste and texture.
Enjoying the Benefits of Homegrown Cabbage
Growing queen cabbage at home is both rewarding and practical. Beyond their culinary uses, these dark and specialty cabbages offer numerous health benefits. They are low in calories, high in fiber, and packed with vitamin C, vitamin K, and antioxidants, supporting digestion, immune function, and overall wellness.
Homegrown cabbage also encourages sustainable living practices. By cultivating your own vegetables, you reduce reliance on store-bought produce, minimize your carbon footprint, and gain full control over your garden’s organic standards.
Conclusion
With the right preparation, care, and attention, growing queen cabbage at home can be a simple and enjoyable endeavor. From selecting the ideal variety to maintaining soil fertility and controlling pests, each step contributes to a healthy and abundant harvest. Dark and specialty cabbages not only enhance the visual appeal of your garden but also provide rich nutritional benefits, making them a valuable addition to your home gardening repertoire.
By following these practical tips and techniques, even beginners can successfully cultivate vibrant heads of queen cabbage, adding both color and flavor to meals year-round. Embrace the process, enjoy the harvest, and savor the unique satisfaction that comes from growing your own premium vegetables right at home.