Growing vegetables at home has become increasingly popular as more people seek fresh, chemical-free produce and rewarding gardening experiences. Bottle gourd is one such vegetable that is widely loved for its versatility, nutritional value, and ease of cultivation. Traditionally known for its long vines and sprawling growth habit, bottle gourd is now available in compact varieties that are perfectly suited for home gardens, terraces, balconies, and small backyard spaces. With the right methods and consistent care, growing compact bottle gourd at home can be both simple and highly productive.
Compact variety bottle gourd plants are specially developed to produce shorter vines, manageable growth, and reliable yields in limited spaces. These varieties allow home gardeners to enjoy fresh gourds without the challenges of excessive vine spread. Understanding the plant’s needs and following easy growing methods can ensure healthy plants and abundant harvests.
The first step to successfully growing compact bottle gourd at home is selecting quality seeds. Choose seeds labeled as compact, bush, or short-vine varieties, as these are bred for controlled growth and container or small-space gardening. Healthy seeds should be firm, mature, and free from damage. Using reliable seeds improves germination rates and overall plant performance.
Before planting, preparing the seeds helps ensure faster and more uniform germination. Soaking the seeds in water for twelve to twenty-four hours softens the seed coat and speeds up sprouting. This simple step is especially helpful for beginners and improves early seedling strength. After soaking, the seeds are ready for planting.
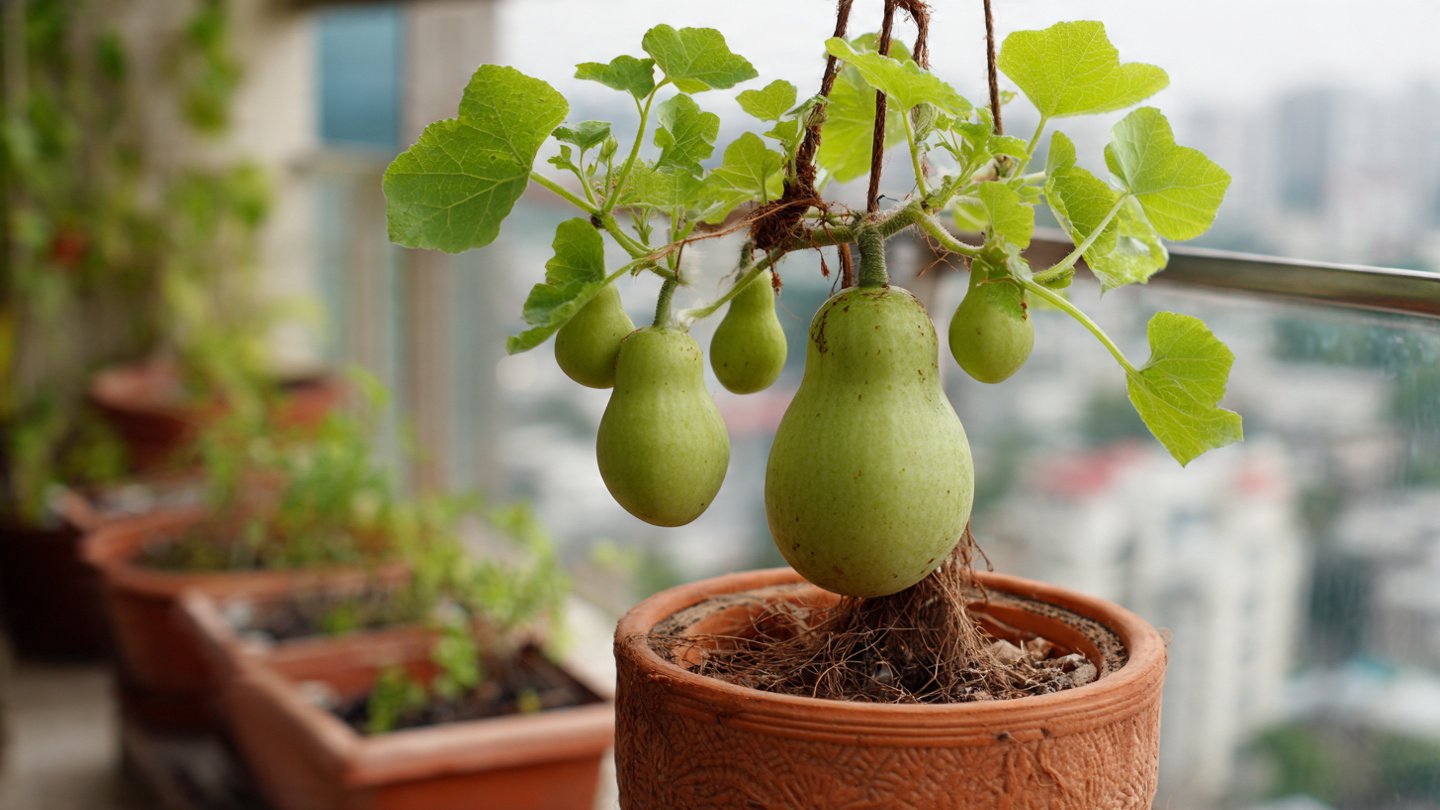
Choosing the right growing space is essential. Compact bottle gourd plants can be grown in the ground, raised beds, or containers. For home gardens with limited space, containers are an excellent option. Use pots or grow bags that are at least twelve to sixteen inches deep and wide to allow proper root development. Ensure the container has good drainage holes to prevent waterlogging, which can harm the roots.
Soil preparation plays a major role in plant health and yield. Bottle gourd thrives in loose, fertile, and well-draining soil rich in organic matter. A good soil mix can be prepared using garden soil, compost or well-rotted manure, and sand or coco peat for aeration. This combination provides nutrients, retains moisture, and prevents compaction. The soil should feel light and crumbly, not heavy or sticky.
Planting should be done during warm weather, as bottle gourd is a warm-season vegetable. Sow seeds about one inch deep in the soil, placing one or two seeds per pot or planting spot. Cover lightly with soil and water gently. Keep the soil consistently moist during germination, which usually occurs within seven to ten days under suitable conditions.
Sunlight is a key factor in successful growth. Compact bottle gourd plants require at least six to eight hours of direct sunlight daily. Place containers or beds in a sunny location such as a terrace, balcony, or open yard. Adequate sunlight promotes strong stems, healthy leaves, and proper flowering. Insufficient light can result in weak growth and poor fruiting.
Watering should be regular but controlled. Bottle gourd plants prefer evenly moist soil, especially during flowering and fruit development. Water the plants deeply when the top layer of soil begins to dry. Avoid frequent shallow watering, as it encourages weak root systems. At the same time, avoid overwatering, as constantly wet soil can cause root rot and fungal diseases. Mulching around the base of the plant helps retain moisture, regulate soil temperature, and reduce weed growth.
Providing support is important even for compact varieties. Although the vines are shorter, they still benefit from some form of support to keep fruits off the ground and improve air circulation. Simple stakes, small trellises, or bamboo frames work well. Training the vines upward saves space, keeps fruits clean, and reduces pest and disease problems.
Fertilization is essential for steady growth and good yields. Bottle gourd plants are moderate feeders and respond well to organic nutrition. At the time of planting, mixing compost or vermicompost into the soil provides a strong nutritional base. Once the plant starts growing actively, apply organic fertilizer every two to three weeks. Liquid compost tea or diluted vermicompost extract can be used to boost growth. During flowering and fruiting, a fertilizer with higher potassium content supports better fruit development.
Pruning is an easy but effective method to improve productivity in compact bottle gourd plants. When the plant reaches a manageable height or vine length, pinch the growing tip to encourage side branching. More side branches lead to more flowers and fruits. Removing excessive or weak shoots also helps the plant focus energy on productive growth rather than unnecessary foliage.
Pollination plays a crucial role in fruit formation. Bottle gourd plants produce separate male and female flowers. In outdoor gardens, insects usually handle pollination naturally. However, in home gardens or balconies with limited insect activity, hand pollination can improve fruit set. Gently transferring pollen from male flowers to female flowers using a soft brush or cotton swab ensures successful pollination and higher yields.
Pest and disease management is relatively easy when plants are kept healthy. Common pests include aphids, fruit flies, and leaf-eating insects. Regularly inspecting plants helps catch problems early. Spraying neem oil solution once every one to two weeks acts as a natural preventive measure. Maintaining cleanliness around the plant, removing damaged leaves, and ensuring good airflow reduce the risk of diseases such as powdery mildew and leaf spots.
Harvesting at the right time is important for both taste and continued production. Compact bottle gourds should be harvested when the fruits are tender, smooth, and medium-sized. Overgrown fruits become hard, bitter, and reduce the plant’s ability to produce new gourds. Regular harvesting encourages the plant to keep flowering and producing more fruits. Use a sharp knife or scissors to cut the fruit without damaging the vine.
One of the advantages of growing compact bottle gourd at home is the ability to manage the plant easily. With proper care, even a single plant can produce multiple fruits over its growing season. Homegrown bottle gourds are fresher, tastier, and free from harmful chemicals, making them a healthy addition to daily meals.
Seasonal care ensures long-term success. Bottle gourd plants thrive in warm weather and slow down during cooler periods. In regions with mild winters, growth may continue with reduced watering and feeding. In colder climates, bottle gourd is typically grown as a seasonal crop. Removing the plant after the productive season and preparing the soil for the next cycle helps maintain garden health.
Growing compact variety bottle gourd at home also offers educational and emotional benefits. It teaches patience, responsibility, and an understanding of plant life cycles. Watching a plant grow from seed to harvest is a rewarding experience, especially for families and beginners.
In conclusion, growing compact variety bottle gourd at home is simple when the right methods are followed. By choosing quality seeds, using suitable containers and soil, providing adequate sunlight, water, nutrition, and support, and practicing regular pruning and care, anyone can enjoy a successful harvest. Compact varieties make it possible to grow this nutritious vegetable even in small spaces, proving that limited area is no barrier to productive home gardening. With consistent attention and easy techniques, home gardeners can enjoy fresh, healthy bottle gourds straight from their own garden.