Apricots are delightful fruits that many gardeners dream of growing at home. Their sweet, juicy flesh and subtle tang make them a favorite for fresh eating, jams, and desserts. While buying an apricot tree from a nursery is common, growing one from a pit is not only cost-effective but also satisfying, especially for beginners who enjoy hands-on gardening. The process is simpler than most people imagine, requiring minimal tools and a bit of patience. This guide will walk you through an easy, safe, and effective method to grow apricots from pits right in your home.
Understanding Apricot Pits
An apricot pit is the hard seed found at the center of the fruit. Inside this pit lies the embryo that can grow into a new apricot tree. Unlike planting seeds from soft fruits like apples or oranges, apricot pits require some preparation because they have a hard outer shell and dormancy mechanisms that prevent immediate germination. Understanding these requirements is the first step toward successful cultivation.
The key factors for germination are stratification, protection from pests, and proper planting conditions. Stratification mimics natural winter conditions, encouraging the seed to sprout. Without it, the pit may remain dormant indefinitely. Once stratified, the seed is ready to grow in soil under controlled conditions.
Selecting a Healthy Apricot Pit
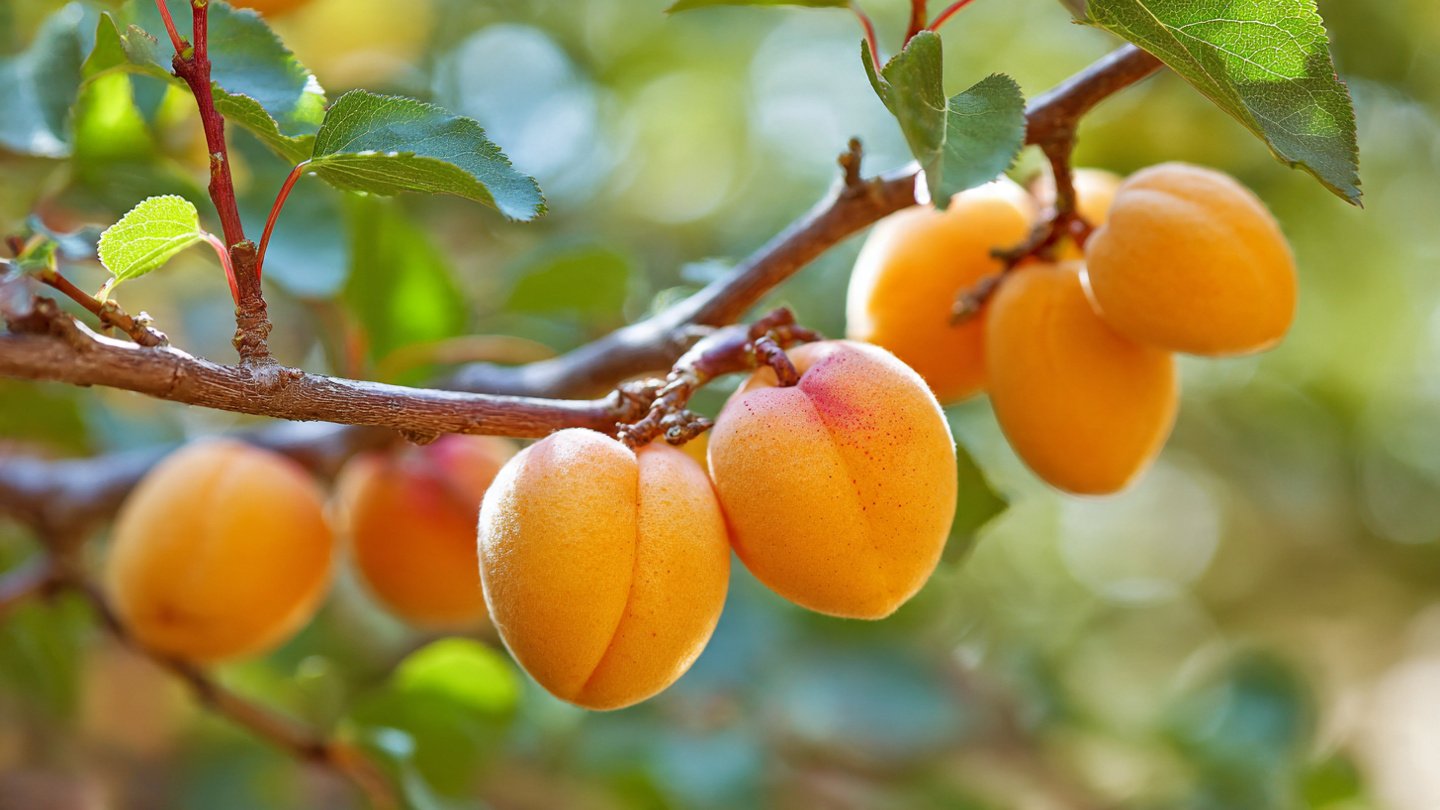
Start by choosing a ripe apricot from a reliable source. Look for fruits that are plump, aromatic, and free from bruises or mold. After enjoying the fruit, carefully remove the pit and wash it thoroughly under running water to remove all fruit residue. Avoid using harsh chemicals; a simple rinse is sufficient. After cleaning, inspect the pit for cracks or signs of damage. Only healthy, intact pits have a high chance of germination.
Preparing the Apricot Pit
Once you have a healthy pit, the next step is stratification, which is crucial for breaking seed dormancy. Begin by drying the pit for a few days in a cool, dry place. This prevents mold growth during the stratification period. After drying, crack the hard outer shell gently using a nutcracker or hammer. Take care not to damage the inner seed. Some beginners prefer to skip cracking and stratify the whole pit; this works but may take longer for the seed to germinate.
Next, place the pit in a moist medium such as damp sand, peat moss, or a paper towel. Put the pit in a sealed plastic bag or container and store it in the refrigerator at a temperature of around 34–40°F (1–4°C). This cold treatment should last for 4–6 weeks. Regularly check the pit to ensure the medium remains damp but not soggy, which can cause rotting. This stratification period tricks the seed into thinking it has experienced winter, signaling it to sprout once planted.
Germination Process
After the stratification period, it’s time to plant the pit. Choose a small pot with good drainage and fill it with a nutrient-rich potting mix. Apricots prefer slightly sandy, loamy soil that is well-draining but retains some moisture. Make a small hole about 1–2 inches deep, place the pit inside with the pointed end facing upward, and cover it gently with soil.
Water the soil lightly to keep it moist. Avoid overwatering, as waterlogged soil can rot the seed. Place the pot in a warm, sunny location indoors, such as a south-facing window. The ideal temperature for sprouting is around 70°F (21°C). Germination can take anywhere from a few weeks to two months, so patience is key.
During this period, monitor the soil moisture and avoid disturbing the seed. Once the seedling emerges, continue to provide indirect sunlight until the plant grows stronger. You may notice small leaves unfurling from the stem, indicating a healthy start.
Transplanting the Seedling
Once the apricot seedling develops several true leaves and grows about 4–6 inches tall, it is ready to be transplanted. Begin by choosing a larger pot or preparing an outdoor garden space if the weather permits. Gradually acclimate the seedling to outdoor conditions by placing it outside for a few hours each day, increasing the duration over a week. This process, called hardening off, reduces transplant shock.
Select a sunny location with well-draining soil. Apricot trees require at least 6–8 hours of direct sunlight daily for optimal growth. Dig a hole slightly larger than the root ball and gently transfer the seedling. Water immediately after planting to settle the soil around the roots. Mulching around the base helps retain moisture and regulate soil temperature.
Caring for Your Young Apricot Tree
Caring for an apricot tree grown from a pit involves consistent attention to watering, sunlight, and protection from pests. Water the tree regularly, especially during dry spells, but avoid overwatering. Apricots are moderately drought-tolerant but thrive when the soil is evenly moist.
Fertilization is essential for young trees. Use a balanced fertilizer during the growing season to promote healthy growth. Pruning is also important once the tree is a year old; remove weak or crowded branches to allow proper airflow and sunlight penetration. This step helps prevent disease and encourages strong fruit production later.
Pest and disease management is another critical aspect. Watch for common issues like aphids, leaf curl, and fungal infections. Organic insecticidal sprays or neem oil can help control pests safely. Regular inspection ensures early detection and treatment of problems.
Patience and Expectations
Growing apricots from pits requires patience. Unlike nursery-bought trees, which may produce fruit in 2–3 years, seedlings can take 3–5 years or longer to bear fruit. However, the satisfaction of nurturing a tree from seed far outweighs the wait. The process allows beginners to learn about seed germination, plant care, and the intricacies of tree growth, providing a rewarding hands-on experience.
Additionally, apricot trees grown from pits often develop stronger root systems and are more adaptable to local conditions. Each tree is unique, which can lead to slight variations in fruit quality and flavor—a fun experiment for home gardeners.
Safety and Environmental Considerations
Growing apricots at home is generally safe, but a few precautions are important. Handle tools carefully, especially when cracking the pit, to avoid injury. Avoid using chemical fertilizers or pesticides excessively; opt for organic or natural alternatives whenever possible.
Additionally, growing apricots indoors or in controlled outdoor spaces helps prevent the introduction of pests to surrounding plants. If planting outdoors, ensure the site does not interfere with utility lines or structures, as apricot trees can grow quite large over time.
Conclusion
Growing apricots from pits is a fulfilling and educational experience for beginners. By selecting healthy seeds, stratifying properly, planting in suitable soil, and providing consistent care, anyone can cultivate their own apricot tree at home. While patience is required, the reward of watching a tiny seed develop into a fruit-bearing tree is incomparable. This method is not only cost-effective but also environmentally friendly, promoting sustainable gardening practices.
With the steps outlined—choosing the right pit, preparing it for germination, planting, and nurturing the seedling—beginners can confidently grow apricots at home safely and effectively. Soon enough, you may find yourself enjoying fresh apricots from your very own garden, a true testament to your dedication and care.