The parlor palm is one of the most popular indoor plants, admired for its graceful fronds, low-maintenance care, and ability to brighten up any living space. Its compact size and elegant appearance make it ideal for homes, offices, and apartments. While parlor palms are relatively easy to grow, one critical aspect of their long-term health is repotting. Knowing when and how to repot ensures that your plant continues to thrive, maintain lush growth, and avoid stress or root problems. This guide will explain the clear signs that indicate your parlor palm needs repotting and provide a step-by-step approach to doing it correctly.
Parlor palms, scientifically known as Chamaedorea elegans, are slow-growing tropical plants. They are naturally resilient and adaptable, which makes them forgiving to minor mistakes. However, over time, even slow-growing plants will outgrow their pots, requiring fresh soil and more space for roots. Repotting is not just a matter of aesthetics—it’s essential for nutrient replenishment, root health, and overall plant vigor. Recognizing the signs of an overgrown pot allows you to act before the plant experiences stress or growth decline.
Signs Your Parlor Palm Needs Repotting
One of the first indicators that a parlor palm needs repotting is visible root congestion. If roots are growing out of drainage holes, circling the surface, or forming dense mats on top of the soil, it is a clear sign the plant has become root-bound. Root-bound palms struggle to absorb water and nutrients effectively, which can lead to stunted growth and yellowing leaves. Examining the roots periodically can prevent severe stress and help you plan repotting at the optimal time.
Another sign is slow or stalled growth. Parlor palms naturally grow slowly, but a sudden lack of new fronds or leaves over several months may indicate that the plant needs more space and fresh soil. Nutrient depletion in the existing soil also contributes to slow growth. Repotting provides new, nutrient-rich media that can rejuvenate the plant and support continued development.
Wilting or drooping fronds, despite regular watering, is another common indicator. If the soil remains moist and the plant appears limp or leaves show brown tips, the roots may be compacted or unable to access sufficient nutrients. Repotting can relieve root congestion, improve soil aeration, and restore healthy hydration throughout the plant.
Yellowing or browning of older leaves may also suggest the need for repotting. While leaf discoloration can result from other factors such as overwatering or low humidity, persistent yellowing despite proper care often points to root stress. The accumulation of salts from fertilizers and mineral deposits in old soil can further compromise nutrient uptake, which is corrected during repotting.
Finally, if your parlor palm is top-heavy or the pot is unstable, it may be time to move to a larger container. Parlor palms gradually expand, and a pot that is too small can tip over easily, especially when watering. A larger pot provides stability, encourages deeper root growth, and allows the plant to maintain its upright posture.
Choosing the Right Pot
Once you determine that repotting is necessary, selecting an appropriate container is crucial. Choose a pot that is only slightly larger than the current one—typically one to two inches wider in diameter. Using an excessively large pot can result in waterlogging because the soil retains moisture longer than the roots can absorb it. Terracotta pots are ideal for parlor palms because they allow for airflow and prevent soil from staying overly wet. Ensure that any pot has adequate drainage holes to prevent root rot.
Preparing Fresh Soil
The soil mix for a parlor palm should be light, well-draining, and rich in organic matter. A combination of high-quality potting soil, peat moss, and perlite works well. This blend retains enough moisture to support root growth while allowing excess water to drain easily. Avoid heavy garden soils or compacted mixes, as they can suffocate roots and promote fungal issues. Fresh soil also replenishes essential nutrients that may have been depleted in the old container, supporting lush frond development.
Step-by-Step Repotting Process
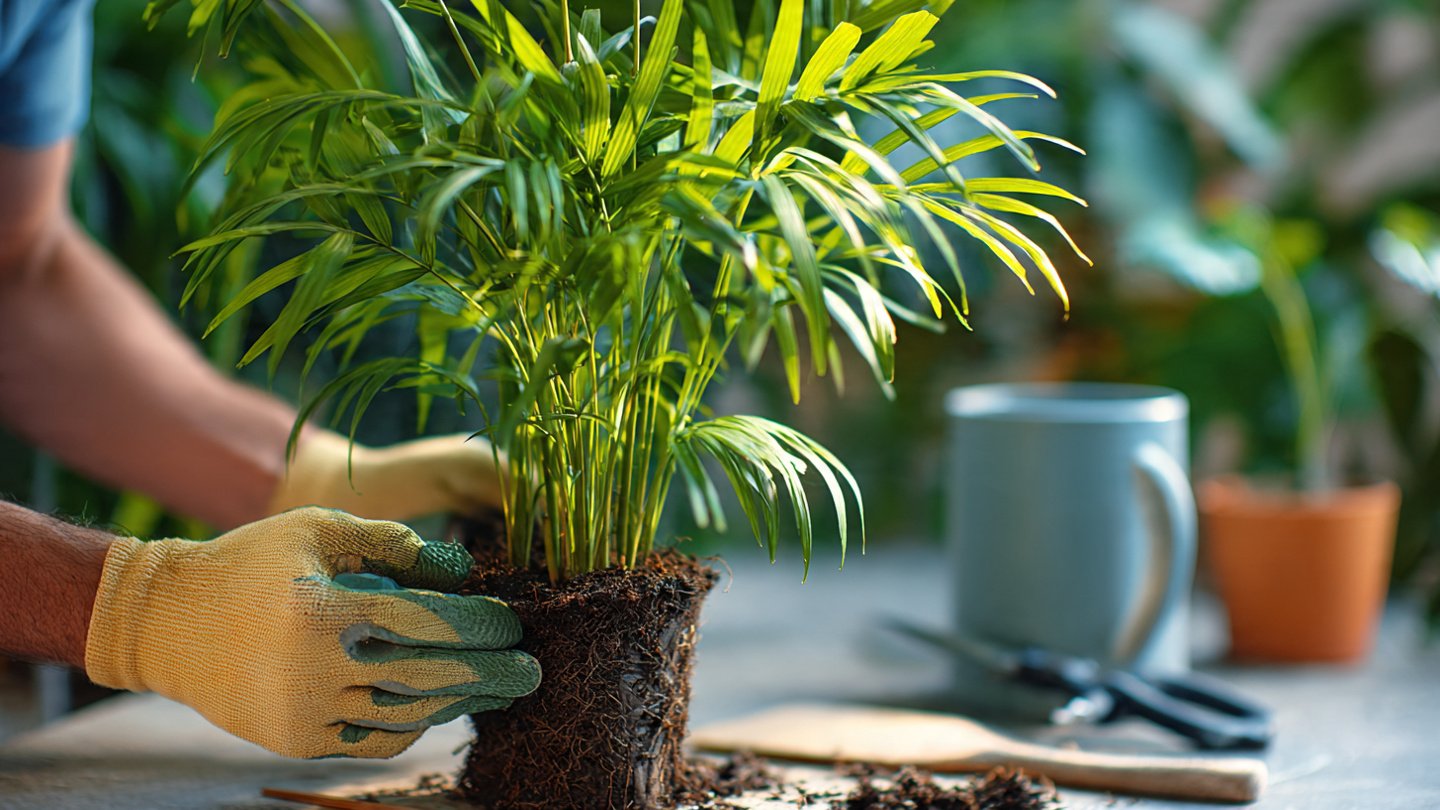
- Remove the Plant from Its Current Pot: Begin by gently loosening the parlor palm from its existing container. Hold the base of the plant and carefully tip the pot to remove it. If the plant is stuck, lightly tap the sides of the pot or use a small tool to loosen the soil along the edges.
- Examine the Roots: Inspect the root system for any signs of rot or damage. Healthy roots should be firm and white or light tan. Trim away any brown, mushy, or unhealthy roots with sterilized scissors to prevent further decay.
- Loosen Root-Bound Sections: If the roots are tightly circling the root ball, gently tease them apart to encourage outward growth. This step is important for stimulating healthy root expansion in the new soil. Be careful not to damage tender roots during this process.
- Prepare the New Pot: Place a layer of fresh soil at the bottom of the new container. Ensure that the soil provides a stable base and positions the plant at the same depth it was growing previously. Avoid burying the crown of the plant, as this can lead to rot.
- Place the Plant and Fill with Soil: Position the parlor palm in the center of the new pot and add soil around the root ball. Lightly press the soil to eliminate air pockets while maintaining some looseness to allow root aeration. Fill the pot until the soil level reaches just below the rim, leaving space for watering.
- Water Thoroughly: After repotting, water the plant thoroughly to settle the soil and hydrate the roots. Ensure water drains freely from the bottom of the pot. Avoid overwatering in the following weeks, as roots may be sensitive after repotting.
Post-Repotting Care
Repotted parlor palms require gentle care as they adjust to their new environment. Place the plant in a location with bright, indirect light and avoid direct sunlight for the first few weeks. Monitor the plant closely for signs of stress, such as drooping leaves or discoloration. Minor wilting may occur initially but should recover as the roots establish in the fresh soil.
Fertilization should be postponed for a few weeks after repotting to avoid overwhelming the plant. Once the palm resumes normal growth, begin feeding with a balanced, water-soluble fertilizer designed for indoor plants. Maintain consistent watering and humidity levels to encourage strong, healthy development.
Regular observation continues to be important after repotting. Check the soil moisture frequently and avoid letting it dry out completely. Parlor palms thrive in stable conditions, and consistent care supports long-term health and resilience.
Benefits of Repotting
Repotting a parlor palm provides multiple benefits. It prevents the plant from becoming root-bound, improves soil aeration, replenishes nutrients, and encourages new growth. Repotting also helps maintain the aesthetic appearance of the plant by supporting upright posture and reducing stress-related leaf problems. Healthy roots and fresh soil directly translate into vigorous fronds and overall vitality, making repotting an essential practice for long-term indoor palm care.
Repotting can also increase the lifespan of the plant. Parlor palms are slow-growing, but with proper care, they can thrive for decades indoors. Timely repotting ensures that the plant remains strong and adaptable, reducing the risk of disease, pest infestations, or root-related decline.
Common Mistakes to Avoid
A few common mistakes can undermine the repotting process. Choosing a pot that is too large can cause overwatering and root rot. Disturbing the roots too aggressively may damage delicate structures and slow recovery. Additionally, planting the palm too deeply or burying the crown can lead to crown rot. Following the correct steps carefully ensures a smooth transition and long-term success.
Overfertilizing immediately after repotting is another mistake. Newly disturbed roots are sensitive, and too much fertilizer can cause leaf burn or chemical stress. Patience is key: allow the plant to adjust before resuming a regular feeding schedule.
Conclusion
Knowing when and how to repot your parlor palm is essential for maintaining a healthy, thriving plant. Clear signs such as visible root congestion, slow growth, drooping fronds, yellowing leaves, or instability indicate that repotting is necessary. By selecting the right pot, preparing fresh soil, and following a careful step-by-step repotting process, you can ensure your palm adapts smoothly and continues to grow beautifully.
Repotting is more than just a maintenance task—it rejuvenates the plant, replenishes nutrients, and supports long-term health. With consistent post-repotting care, your parlor palm will flourish, producing lush fronds that enhance any indoor space. By paying attention to the plant’s needs and taking timely action, repotting becomes a straightforward and rewarding part of your indoor gardening routine. The result is a vibrant, resilient parlor palm that continues to bring elegance and natural beauty to your home for years to come.