Aloe vera, often referred to as the “miracle plant,” has become a staple in homes worldwide due to its medicinal and cosmetic benefits. From soothing sunburns to improving skin health and even supporting digestion, aloe vera’s versatility is unmatched. If you’ve ever wanted to cultivate this hardy succulent at home, Elovera offers a comprehensive guide to ensure your aloe vera thrives. Whether you’re a seasoned gardener or a beginner, this guide will take you through every step—from selecting the right plant to harvesting its gel.
Why Grow Aloe Vera at Home?
Growing aloe vera at home isn’t just about aesthetics—it’s about accessibility and sustainability. When you cultivate aloe vera yourself, you have a constant supply of fresh gel for skincare, haircare, and even natural remedies. Unlike store-bought products, homegrown aloe is free from preservatives and chemicals.
Additionally, aloe vera is an excellent low-maintenance plant, making it ideal for indoor gardening. Its succulent leaves store water, allowing it to survive with minimal attention. Moreover, aloe vera is known to purify indoor air, making your living environment healthier.
Choosing the Right Aloe Vera Variety
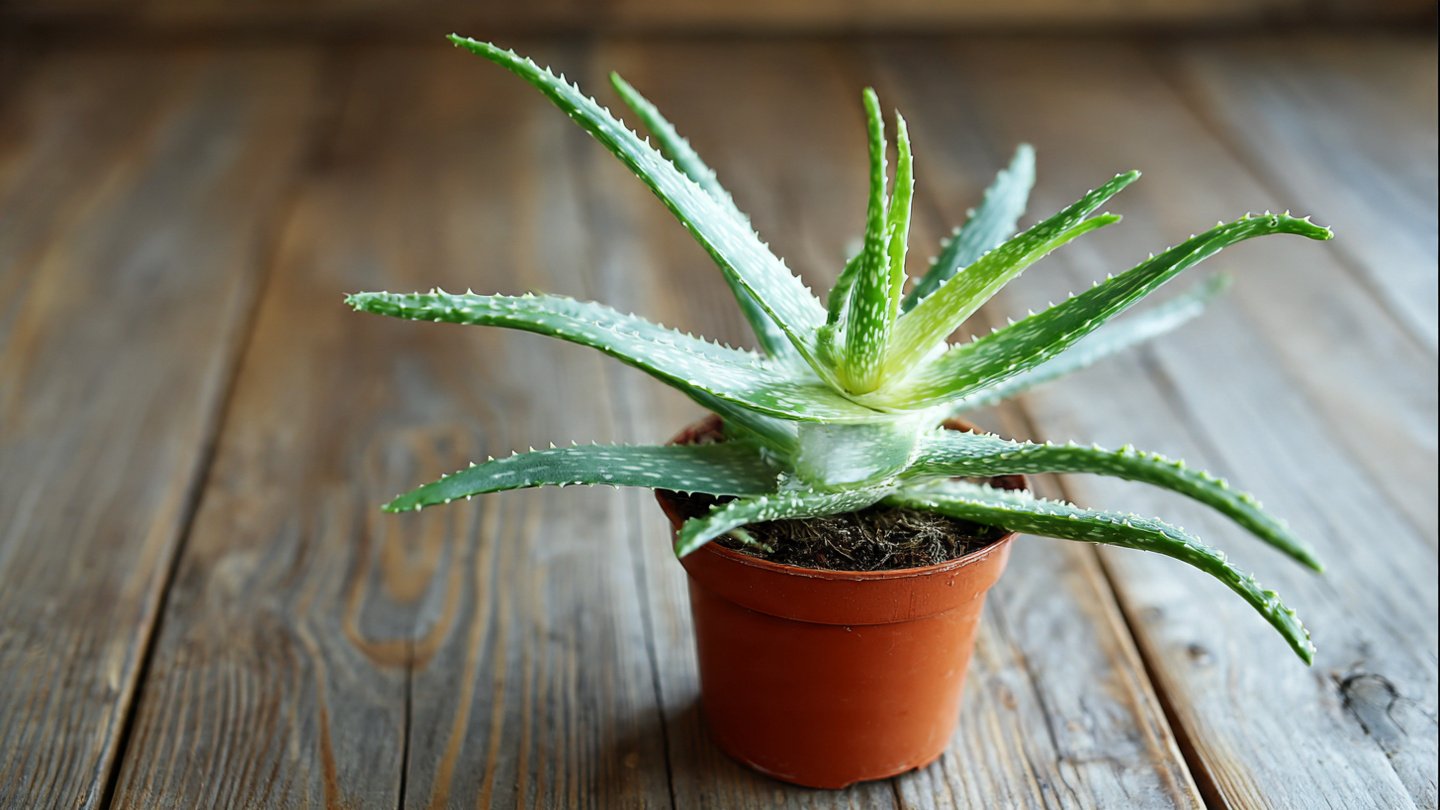
There are over 500 species of aloe, but the most commonly cultivated at home is Aloe barbadensis miller. Known for its thick, juicy leaves and high medicinal properties, this variety is perfect for home use. When selecting a plant, look for:
- Healthy leaves: Thick, green leaves without brown spots or signs of rot.
- Firm roots: A strong root system ensures the plant will adapt quickly to its new environment.
- Pups: These are small offshoots growing near the base of the mother plant, which can be separated to grow new plants.
Pro tip: If you’re purchasing aloe vera from a nursery, opt for a young plant rather than a fully matured one, as it adapts more easily to indoor conditions.
The Ideal Environment for Aloe Vera
Aloe vera thrives in warm, sunny conditions and well-draining soil. Here’s what you need to consider:
Light Requirements
Aloe vera prefers bright, indirect sunlight. Placing your plant near a south- or west-facing window is ideal. Too much direct sunlight can scorch the leaves, turning them brown or reddish. Conversely, insufficient light will result in slow growth and elongated, weak leaves.
Temperature
This succulent enjoys temperatures between 55°F and 80°F (13°C – 27°C). Aloe vera is not frost-tolerant, so if you live in colder climates, keep it indoors during winter.
Humidity
Aloe vera is drought-resistant and thrives in dry conditions. High humidity can increase the risk of fungal infections and root rot. Ensure proper ventilation if grown indoors.
Soil Selection and Potting
Choosing the right soil is crucial for a healthy aloe plant. Aloe vera requires well-draining soil to prevent waterlogging and root rot.
- Soil type: Use a cactus or succulent mix. You can also create a DIY blend with two parts sand or perlite and one part potting soil.
- Pot selection: A clay or terracotta pot with drainage holes is ideal. These materials allow excess moisture to evaporate, preventing root rot.
- Pot size: Aloe vera prefers slightly snug pots. Avoid excessively large pots, as too much soil can retain water and harm the plant.
Pro tip: Always place a small layer of gravel at the bottom of the pot to improve drainage.
Planting Aloe Vera Step by Step
Step 1: Preparing the Pot
Start with a clean pot to prevent bacteria and fungi. Fill it with your chosen well-draining soil mix, leaving enough space for the plant.
Step 2: Planting the Aloe
Remove the aloe from its nursery pot, gently shaking off excess soil. Place the plant in the new pot and fill around the roots with soil, ensuring the base of the leaves sits just above the soil line.
Step 3: Watering After Planting
Do not water immediately after planting. Allow the plant to acclimate for 24–48 hours. Then water lightly to help the roots settle.
Step 4: Placement
Place your aloe vera in a location with indirect sunlight. If indoors, ensure it gets at least 6–8 hours of light daily.
Watering Your Aloe Vera
Aloe vera is highly drought-tolerant, so overwatering is the most common mistake made by beginners. Here’s how to keep your plant hydrated:
- Frequency: Water every 2–4 weeks, depending on temperature and humidity.
- Method: Water deeply but allow excess water to drain. Ensure the soil dries completely between watering.
- Signs of overwatering: Soft, mushy, or yellow leaves indicate too much water.
Pro tip: In winter, reduce watering to once every 4–6 weeks since aloe vera enters a dormant phase.
Fertilizing Aloe Vera
Aloe vera doesn’t require frequent fertilization but benefits from occasional feeding:
- Type of fertilizer: Use a balanced, water-soluble fertilizer or a cactus fertilizer diluted to half strength.
- Frequency: Fertilize once in spring and once in summer. Avoid fertilizing in fall and winter.
- Application: Apply fertilizer directly to the soil, avoiding contact with leaves.
Pruning and Maintenance
Pruning keeps your aloe healthy and encourages growth. Remove any:
- Dead leaves: Yellow or brown leaves at the base.
- Damaged leaves: Leaves with tears or rot.
- Excess pups: Separate pups from the mother plant to prevent overcrowding.
Regularly wiping dust off the leaves with a damp cloth also allows the plant to absorb sunlight more efficiently.
Propagating Aloe Vera
One of the easiest ways to expand your aloe collection is through pups:
- Identify pups: Look for small offshoots growing near the base of the mother plant.
- Separate carefully: Use a clean knife to detach pups with some roots attached.
- Dry before planting: Let the pups sit for 24 hours to allow cut surfaces to callus.
- Plant in soil: Place them in a small pot with well-draining soil.
- Water lightly: Water only after 2–3 days to prevent rot.
With proper care, your new plants will thrive and eventually produce their own pups.
Harvesting Aloe Vera Gel
Aloe vera gel is the most valuable part of the plant. Here’s how to harvest it safely:
- Choose mature leaves: Select thick, fleshy leaves from the outer portion of the plant.
- Cut at the base: Use a clean knife to cut the leaf close to the stem.
- Drain the sap: Place the leaf upright for 10–15 minutes to allow the yellow latex (aloin) to drain. Aloin can be irritating to skin and stomach.
- Extract the gel: Peel off the outer layer and scoop out the clear gel inside.
- Storage: Store the gel in an airtight container in the refrigerator for up to a week. You can also freeze it for longer storage.
Pro tip: Fresh aloe gel can be mixed with coconut oil, honey, or essential oils for DIY skincare remedies.
Common Problems and Solutions
Even though aloe vera is hardy, issues can arise:
- Root rot: Caused by overwatering. Remedy: Repot the plant in dry soil and reduce watering frequency.
- Pests: Mealybugs and aphids may appear. Remedy: Wipe leaves with diluted neem oil or insecticidal soap.
- Sunburn: Leaves turn reddish-brown. Remedy: Move the plant to indirect sunlight.
- Nutrient deficiency: Pale leaves indicate lack of nutrients. Remedy: Fertilize lightly during the growing season.
Regular monitoring ensures your aloe stays healthy and productive.
Indoor vs. Outdoor Growth
- Indoor aloe vera: Ideal for apartments and areas with cold winters. Requires bright, indirect sunlight and occasional fertilization.
- Outdoor aloe vera: Thrives in warm, dry climates with full sun. Ensure proper drainage to prevent waterlogging during rainy seasons.
Regardless of the setting, aloe vera is adaptable and resilient when given the right care.
Benefits of Homegrown Aloe Vera
Cultivating aloe vera at home is not just rewarding—it’s practical:
- Skin care: Treats burns, cuts, acne, and dry skin.
- Hair care: Reduces dandruff and conditions hair naturally.
- Digestive health: Aloe juice may support digestion when consumed in small amounts.
- Air purification: Improves indoor air quality by absorbing toxins.
- Eco-friendly: Reduces reliance on store-bought processed gels and lotions.
Final Thoughts
Aloe vera is truly a remarkable plant, combining beauty, resilience, and incredible utility. With the right soil, light, and care, anyone can successfully grow it at home. Elovera provides all the tools and techniques needed to cultivate thriving aloe plants, propagate new ones, and harvest gel safely. Whether for wellness, beauty, or indoor decor, having your own aloe vera plant is both practical and rewarding.
With patience and attention, your aloe vera can become a long-lasting companion in your home, providing natural remedies and green charm for years to come. Start today, and enjoy the many benefits of nurturing your very own miracle plant!