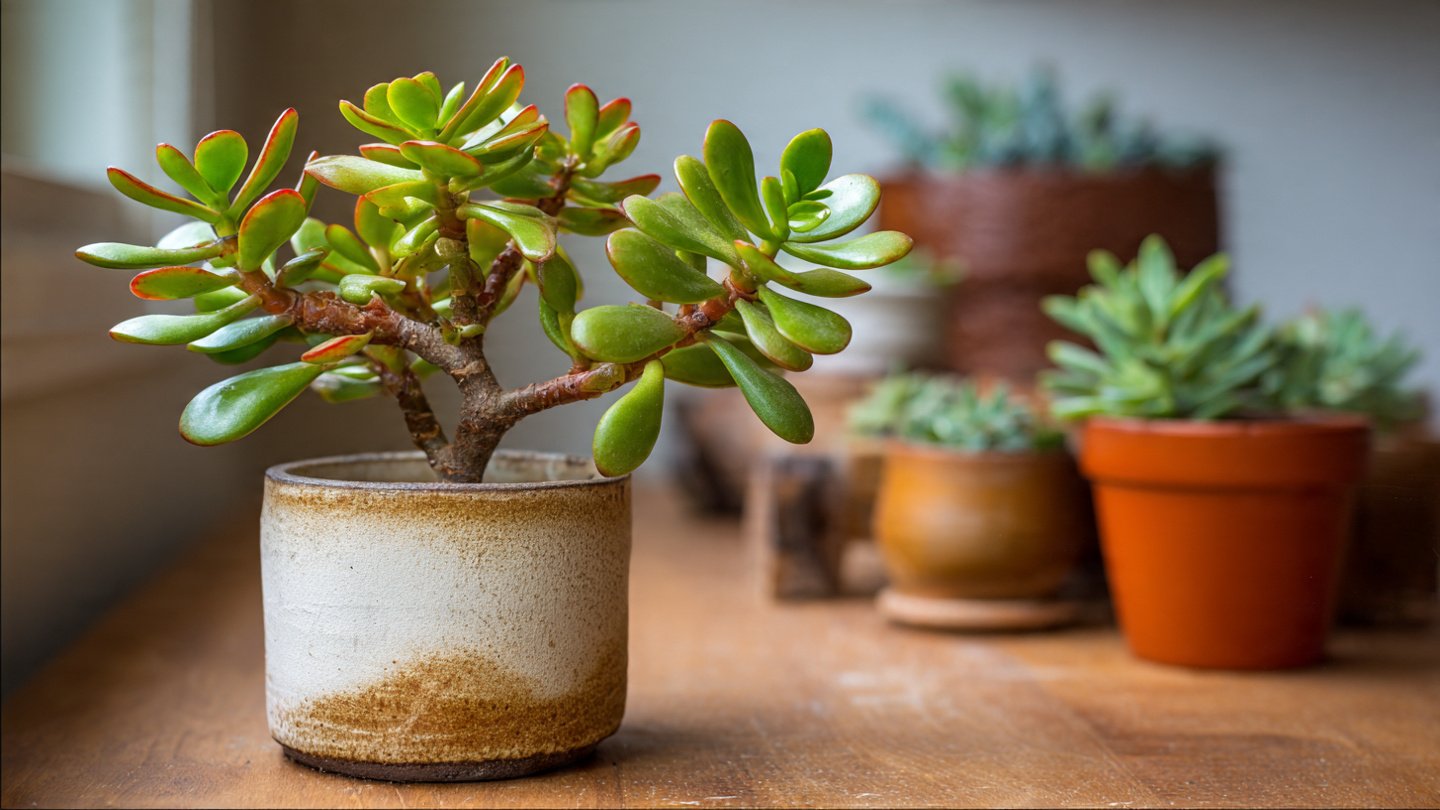
The jade plant (Crassula ovata), with its thick, glossy leaves and tree-like structure, is one of the most popular succulents for home gardeners. Its resilience, slow but steady growth, and striking appearance make it a favorite for indoor and outdoor spaces alike. Propagating jade plants is a satisfying way to multiply your collection, share plants with friends, or rejuvenate an older plant. Among the various methods, leaf propagation is one of the most reliable ways to grow new jade plants successfully. Unlike stem cuttings, leaf propagation focuses on the succulent’s individual leaves, allowing gardeners to create multiple new plants from a single parent.
In this guide, we’ll walk through a detailed step-by-step process to propagate jade plant leaves successfully, highlight common mistakes to avoid, and offer tips to ensure robust, healthy growth.
Why Propagate Jade Plants from Leaves
Propagating jade plants from leaves offers several benefits:
- Efficiency: Each leaf has the potential to grow into a full plant, allowing you to multiply your jade plant collection quickly.
- Ease of Handling: Leaves are small, easy to work with, and do not require large pots or complicated setups.
- Space-Saving: Leaf propagation requires less space than stem cuttings or full-branch propagation.
- Low Maintenance: Once set up properly, leaf propagation demands minimal care.
However, it’s important to note that not every leaf will successfully root, and patience is key. The process can take several weeks to months, depending on conditions like temperature, humidity, and light.
Step 1: Choose Healthy Leaves
The first and most crucial step in leaf propagation is selecting the right leaves. Look for:
- Plump and firm leaves: Avoid leaves that are shriveled, soft, or discolored. Healthy leaves store energy and water, essential for root and plant development.
- Leaves free of damage or disease: Ensure the leaf has no blemishes, cuts, or signs of rot, which can hinder successful propagation.
- Mature leaves: Leaves from the middle or bottom of the plant are generally more mature and suitable for propagation than tiny new growth at the tips.
Gently twist or cut the leaf off the stem. Make sure the entire leaf detaches cleanly, including the base, as any missing tissue may prevent new growth.
Step 2: Allow Leaves to Callus
After removing the leaves, it’s essential to let them callus over before planting. A callus is a dry, protective layer that forms over the cut end of the leaf, preventing rot when placed in soil.
- Place the leaves in a dry, shaded area for 2–5 days.
- Avoid direct sunlight during this time, as it can dry out the leaf too quickly or cause sunburn.
- Check the base of the leaf to ensure it has formed a firm, dry surface before moving to the next step.
This callusing process is critical to successful propagation, as planting uncallused leaves directly in soil often leads to rot and failure.
Step 3: Prepare the Soil
Jade plants are succulents, meaning they need well-draining soil to prevent water retention and root rot. You can use:
- Cactus or succulent potting mix: This is commercially available and ideal for jade propagation.
- DIY mix: Combine 2 parts coarse sand or perlite with 1 part potting soil to ensure drainage.
Fill a shallow tray or small pots with the soil mix. Lightly moisten the soil, but avoid making it soggy—too much water at this stage can encourage rotting.
Step 4: Plant the Leaves
Once callused, the leaves are ready to be planted:
- Position the leaf on top of the soil with the callused end in slight contact with the surface.
- You can plant multiple leaves in a single tray, but ensure they do not touch each other, allowing air circulation and minimizing disease risk.
- Do not bury the leaf entirely; only the callused end should touch the soil. Burying it can prevent proper root development.
At this stage, the leaf will begin developing tiny roots from the base, which can take anywhere from 2–6 weeks.
Step 5: Provide the Right Environment
Proper environmental conditions are crucial for successful propagation:
- Light: Place the leaves in bright, indirect light. Avoid direct sunlight, which can scorch the leaves before roots form.
- Temperature: Maintain a warm temperature between 65–75°F (18–24°C). Sudden cold or drafts can slow growth or damage the leaves.
- Humidity: Average indoor humidity is sufficient. Avoid overly humid conditions that can encourage fungal growth.
Do not water directly at this stage. Instead, lightly mist the soil once a week or whenever it feels dry. Overwatering is the most common cause of failed jade leaf propagation.
Step 6: Wait Patiently for Roots and Pups
The propagation process requires patience. Over time, the callused leaf will develop:
- Roots: Tiny roots emerge from the base of the leaf, anchoring it into the soil.
- Pups: Small new plantlets, also called pups, appear at the base of the leaf. These pups are miniature versions of the jade plant.
During this stage, it’s essential not to disturb the leaves. Roots and pups are delicate, and excessive handling can damage them. Continue providing indirect sunlight and occasional misting.
Step 7: Transplant New Plants
Once the pups reach a reasonable size—usually 1–2 inches tall with several tiny leaves—they can be transplanted into their own pots:
- Prepare a pot with succulent soil, ensuring proper drainage.
- Gently lift the pup with its base roots intact, avoiding tearing the original leaf if it’s still attached.
- Plant the pup in the new pot and lightly water the soil.
- Continue providing bright, indirect light and allow the soil to dry between waterings.
As the new plant matures, the original leaf may wither. This is normal and indicates that the pup is now self-sufficient.
Common Mistakes to Avoid
- Planting uncallused leaves: Leads to rot and unsuccessful propagation.
- Overwatering: Excess moisture is the main cause of failure in jade leaf propagation.
- Insufficient light: Without adequate light, roots may form slowly, and pups may be weak or etiolated.
- Touching or moving leaves too often: Disturbs root formation and can damage delicate structures.
Avoiding these mistakes will dramatically increase your chances of success.
Tips for Successful Jade Plant Leaf Propagation
- Use multiple leaves: Not all leaves will propagate successfully, so using several leaves increases your success rate.
- Label your trays: If propagating multiple varieties, labeling helps keep track of growth and ensures correct care.
- Patience is key: Root and pup formation can take weeks to months. Do not rush the process.
- Gradually acclimate to direct sunlight: Once pups grow strong, introduce them slowly to direct sunlight to avoid sunburn.
- Fertilize sparingly: Only after the pups have developed a few sets of true leaves, use a diluted succulent fertilizer.
Why Leaf Propagation Works
Jade plants store water and nutrients in their leaves. When a leaf is removed and allowed to callus, it contains all the energy needed to form roots and produce a new plant. This natural energy reserve makes leaf propagation highly effective compared to seeds or slow stem cuttings. With patience, proper care, and the right conditions, a single leaf can grow into a full, thriving jade plant over several months.
Conclusion
Propagating jade plant leaves is a rewarding and accessible method for gardeners seeking to multiply their plants. By carefully selecting healthy leaves, allowing them to callus, planting in well-draining soil, and maintaining the right environment, you can grow multiple new jade plants successfully. The key lies in patience, proper handling, and avoiding overwatering, which is the most common cause of failure.
With time, each leaf can transform into a full plant, adding lush greenery to your home, office, or garden. Leaf propagation not only allows you to expand your jade plant collection but also deepens your understanding of succulent growth and care. By following this step-by-step guide, even beginners can achieve successful propagation and enjoy the beauty and resilience of thriving jade plants for years to come.