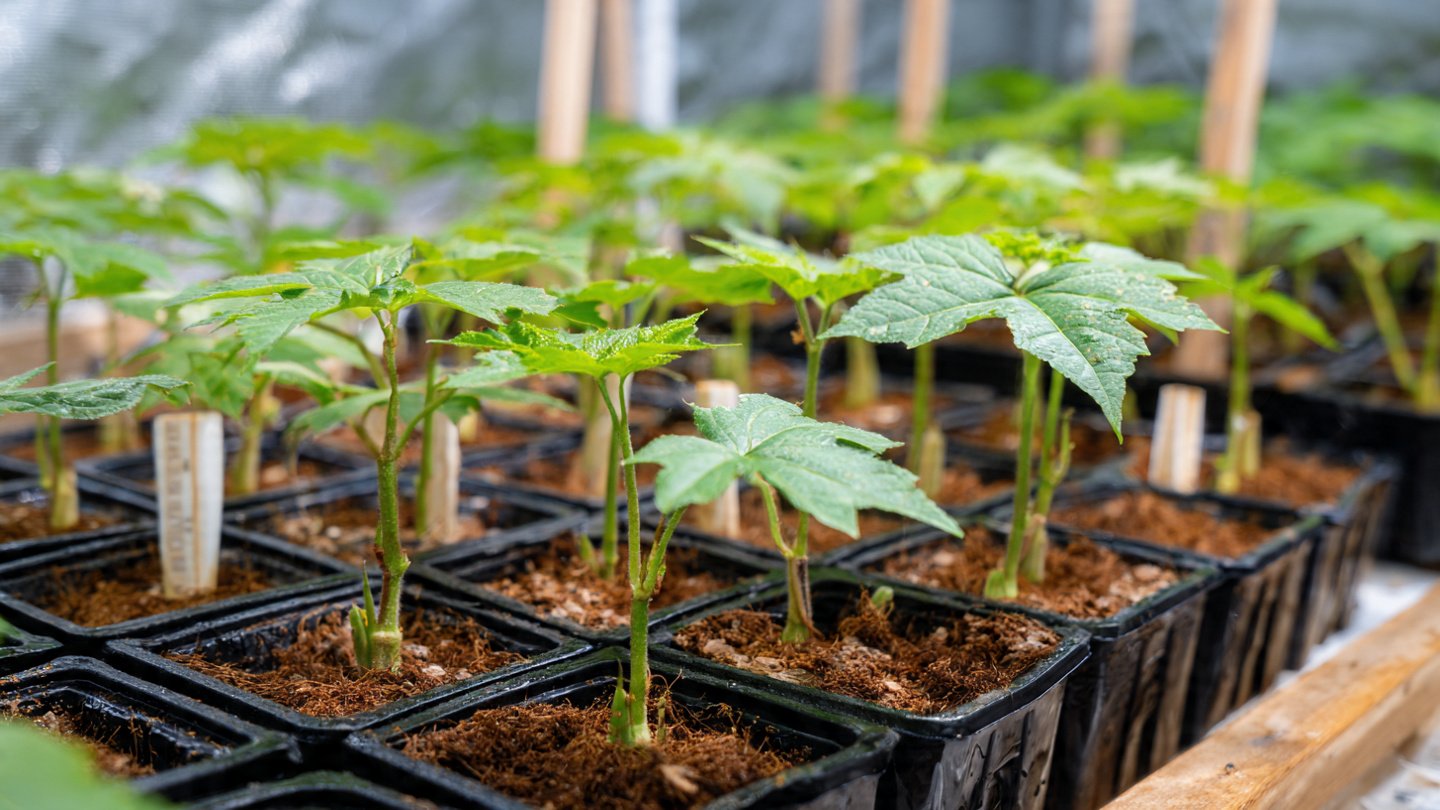
Okra is a fast-growing, productive vegetable that thrives in warm conditions and rewards gardeners with continuous harvests when properly cared for. Many people assume okra requires open garden beds and large spaces, but this is not true. With the right techniques, okra can be successfully grown in recycled plastic bottles, making it an excellent option for balconies, rooftops, patios, and small urban homes. Using plastic bottles not only saves space but also promotes sustainability by recycling household waste. This complete guide explains every step needed to grow healthy, high-yield okra plants in plastic bottles, even if you have no traditional garden.
Why Grow Okra in Plastic Bottles
Plastic bottle gardening is ideal for people with limited space. Okra adapts well to container growth as long as it has sufficient depth, sunlight, and nutrients. Plastic bottles are lightweight, easy to move, and readily available. They allow better control over soil quality, watering, and pest management while reducing costs. Growing okra in bottles also improves drainage, minimizes soil-borne diseases, and makes harvesting easier.
Another advantage is temperature control. Plastic containers warm up faster than ground soil, which benefits okra because it prefers warm growing conditions. With proper care, bottle-grown okra can produce yields comparable to garden-grown plants.
Choosing the Right Plastic Bottle
Selecting the correct bottle is critical for success. Okra has a deep taproot, so container depth matters more than width.
Use plastic bottles that hold at least 5 liters of water. Larger bottles, such as 10-liter containers, are even better. Clear or transparent bottles should be painted or wrapped to prevent algae growth and root overheating. Dark-colored bottles naturally block light and work well.
Cut the bottle horizontally or vertically, depending on your preference, but ensure a minimum soil depth of 10 to 12 inches. Make several drainage holes at the bottom to prevent waterlogging, which can cause root rot.
Preparing the Growing Medium
Soil quality directly affects plant health and yield. Avoid using heavy garden soil alone, as it compacts easily in containers.
A good soil mix for okra in plastic bottles includes:
- 40 percent garden soil
- 30 percent compost or well-rotted manure
- 20 percent coco peat or peat moss
- 10 percent sand or perlite for drainage
This mixture provides nutrients, retains moisture, and allows roots to breathe. Before filling the bottles, moisten the soil slightly so it settles evenly without compacting.
Selecting the Right Okra Variety
Choose compact or high-yield okra varieties that perform well in containers. Dwarf or hybrid varieties are especially suitable for small spaces. These varieties mature faster, produce uniform pods, and require less space.
Fresh seeds give better germination rates. Avoid using old or damaged seeds, as poor germination leads to uneven growth and reduced harvests.
Sowing Okra Seeds Correctly
Soak okra seeds in water for 6 to 12 hours before planting. This softens the hard seed coat and speeds up germination.
Fill the plastic bottle with prepared soil, leaving about one inch of space at the top. Plant two seeds per bottle at a depth of one inch. Cover lightly with soil and water gently.
Place the bottles in a warm location that receives sunlight. Germination usually occurs within 5 to 10 days. Once seedlings emerge and develop two to three true leaves, thin them by removing the weaker plant, leaving one strong seedling per bottle.
Providing Proper Sunlight
Okra is a sun-loving plant and requires at least six to eight hours of direct sunlight daily. Place the bottles in a south-facing or west-facing area where they receive maximum sun exposure.
If growing on a balcony or indoors near a window, rotate the bottles every few days so the plant grows straight and receives even light. Insufficient sunlight results in weak stems, fewer flowers, and poor pod development.
Watering for Healthy Growth
Consistent watering is essential, especially in containers where soil dries out faster. Water the plants when the top inch of soil feels dry. Avoid overwatering, as soggy soil can cause root diseases and stunted growth.
During hot weather, daily watering may be necessary. Early morning watering is best, as it allows moisture absorption before heat stress sets in. Always water at the base of the plant to keep leaves dry and reduce disease risk.
Feeding Okra Plants for High Yields
Okra is a moderate feeder that benefits from regular nutrition. Since container soil nutrients deplete quickly, feeding is essential.
Apply compost tea, vermicompost, or liquid organic fertilizer every two weeks. During flowering and pod formation, increase potassium-rich feeding to promote larger and more frequent pods.
Avoid excessive nitrogen, which encourages leafy growth at the expense of flowers and fruits. Balanced feeding leads to sturdy plants and consistent harvests.
Supporting Plant Growth
As okra plants grow taller, they may become top-heavy, especially in containers. Provide support using small stakes or bamboo sticks inserted into the bottle. Tie the main stem loosely to prevent bending or breakage.
Proper support improves air circulation, reduces disease risk, and allows the plant to focus energy on pod production.
Pruning and Maintenance
Pruning is not mandatory but can improve yield. Remove yellowing or damaged lower leaves to improve airflow and redirect energy to productive growth.
Pinching the top of the plant when it reaches about two feet tall encourages branching, which can increase the number of flowering sites and pods. Keep the area around the bottles clean to prevent pests and fungal problems.
Pest and Disease Control
Container-grown okra generally faces fewer pest issues, but aphids, whiteflies, and spider mites may still appear. Inspect plants regularly, especially under leaves.
Use neem oil spray or mild soap solution to control pests naturally. Avoid chemical pesticides, as they can affect plant health and beneficial insects.
Ensure proper drainage, spacing, and airflow to prevent fungal diseases. Remove any infected leaves immediately to stop spread.
Encouraging Flowering and Pod Formation
Okra flowers are self-pollinating, so no manual pollination is required. Healthy plants with adequate sunlight and nutrients will flower naturally.
Stress-free plants produce more pods. Avoid irregular watering, overcrowding, and nutrient deficiencies. Once flowering begins, pods develop quickly and should be harvested promptly.
Harvesting Okra for Continuous Production
Harvest okra pods when they are 3 to 5 inches long. Younger pods are tender and more flavorful. Overgrown pods become tough and reduce further production.
Harvest every two to three days using clean scissors or by snapping pods gently from the stem. Frequent harvesting encourages the plant to produce more flowers and pods.
Do not allow mature pods to remain on the plant, as this signals the plant to slow production.
Maximizing Harvest in Small Spaces
To increase yield, grow multiple bottles instead of one large container. Arrange bottles in rows or tiers to maximize sunlight exposure.
Succession planting every two to three weeks ensures a continuous harvest throughout the growing season. Healthy container-grown okra can produce for several months under proper care.
Final Thoughts
Growing okra in plastic bottles is a practical, eco-friendly, and highly productive method for small-space gardening. With proper container selection, quality soil, consistent watering, adequate sunlight, and regular feeding, recycled plastic bottles can support vigorous okra plants and generous harvests.
This method proves that limited space does not limit productivity. Whether you live in an apartment, have a small balcony, or simply want to grow food sustainably, plastic bottle gardening offers an accessible way to enjoy fresh, homegrown okra. By following these step-by-step techniques, you can turn everyday waste into a thriving vegetable garden and enjoy healthy, high-yield okra plants season after season.