Stevia has surged in popularity as a natural, calorie-free sweetener. Derived from the leaves of the Stevia rebaudiana plant, it provides a sugar-like sweetness without the negative effects of traditional sugar, such as blood sugar spikes or added calories. While stevia is widely available in stores as powders, liquid extracts, or granules, many health-conscious gardeners wonder: can you grow your own stevia at home? The answer is yes! With the right conditions, care, and harvesting techniques, growing stevia is not only possible but rewarding, providing a fresh, natural sweetener right from your garden or even a sunny windowsill.
Understanding Stevia
Stevia is a perennial herb native to Paraguay and Brazil. Its leaves contain compounds called steviol glycosides, which are 50–300 times sweeter than sugar. Unlike sugar, these compounds do not affect blood glucose, making stevia a favorite among diabetics, people on low-calorie diets, or those looking to reduce refined sugar intake.
Growing stevia requires understanding its growth habits:
- Climate Preference: Stevia thrives in warm, subtropical conditions. It grows best in temperatures between 70–85°F (21–29°C).
- Sunlight Needs: Full sun is ideal, though partial shade is tolerated. At least six hours of direct sunlight daily promotes vigorous growth.
- Soil Requirements: Stevia prefers well-draining, slightly acidic soil with a pH between 6.5 and 7.0. Waterlogged soil can cause root rot, while poor drainage slows growth.
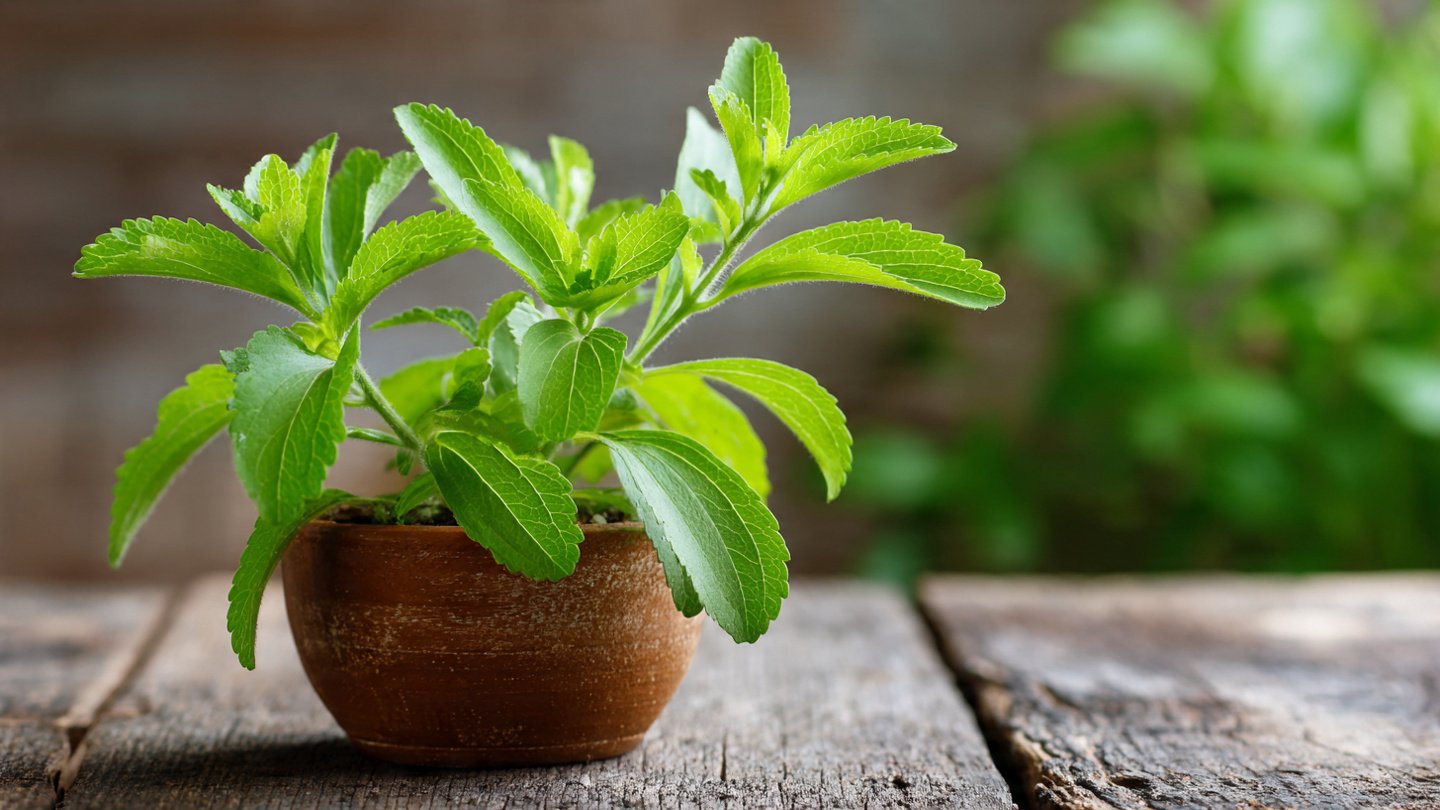
With proper care, stevia plants can reach 1–3 feet in height, providing ample leaves for natural sweetener production.
Starting Stevia Plants
There are multiple ways to start your own stevia garden, either from seeds, cuttings, or nursery-bought plants.
1. Growing from Seeds
Stevia seeds are tiny and slow to germinate, but growing from seed is possible:
- Seed Preparation: Sow seeds on the surface of a light, moist potting mix. Do not cover, as they need light for germination.
- Temperature: Keep soil warm, ideally 70–75°F (21–24°C), for faster germination.
- Watering: Mist gently to keep soil consistently moist but not soggy.
- Germination Time: Seeds typically sprout within 10–21 days. Thin seedlings to 4–6 inches apart once they develop their first true leaves.
Growing from seeds gives you more plants but requires patience and careful temperature management.
2. Propagation from Cuttings
For faster results, many gardeners prefer stem cuttings:
- Selecting Cuttings: Choose healthy, non-flowering stems about 4–6 inches long. Remove lower leaves to expose nodes.
- Rooting Medium: Place cuttings in moist soil or water to encourage root growth. Roots typically develop in 2–3 weeks.
- Transplanting: Once roots are established, transplant cuttings into larger pots or garden beds with well-draining soil.
Cuttings are more reliable than seeds and produce a productive plant more quickly.
3. Purchasing Young Plants
For beginners, buying established stevia plants from nurseries or online suppliers is often the easiest option. Young plants give an immediate start and reduce germination or rooting challenges.
Pot or Ground Planting
Stevia can thrive in both containers and garden beds, making it ideal for small spaces or traditional gardens.
- Container Growing: Use pots at least 6–8 inches deep with drainage holes. Containers are ideal for controlling soil, moving plants indoors during winter, and protecting them from pests.
- Garden Beds: Choose a sunny spot with well-draining soil. Raised beds can improve drainage and soil quality.
- Spacing: Plant stevia 12–18 inches apart to allow airflow and healthy growth. Crowding can promote fungal disease.
Proper placement ensures that plants grow vigorously and produce leaves with maximum sweetness.
Watering and Fertilization
Stevia prefers consistent moisture but does not tolerate waterlogged soil:
- Watering: Keep the soil consistently moist, especially during dry periods. Water deeply at the base rather than from above to avoid wet foliage.
- Fertilization: Stevia benefits from light, balanced fertilization. Organic compost or a diluted liquid fertilizer every 3–4 weeks promotes healthy leaf growth. Avoid excessive nitrogen, as it encourages leafy growth with lower sweetness.
Balanced watering and feeding help maintain leaf quality and sweetness concentration.
Pruning and Care
Regular care helps stevia plants grow bushy, healthy, and productive:
- Pruning: Trim the plant regularly to encourage branching. Cut back 2–3 inches from the top of stems to stimulate lateral growth.
- Flower Management: Stevia produces small white flowers. While harmless, flowers can reduce leaf sweetness. Pinch off flower buds if you want maximum leaf sweetness.
- Pest Control: Stevia is relatively pest-resistant, but aphids and spider mites can appear. Spray with mild soapy water or neem oil for control.
Routine pruning and attention to flowers and pests keep stevia plants productive.
Harvesting Stevia Leaves
The key to making stevia a natural sugar substitute is harvesting leaves at the right time and preparing them correctly:
- Harvest Timing: Leaves are sweetest just before the plant flowers. Harvest 3–4 inches from the stem, taking outer leaves first.
- Leaf Drying: Air-dry leaves in a cool, dark, ventilated space. This preserves sweetness. Avoid direct sunlight, which can degrade glycosides.
- Storing Leaves: Once dried, store in airtight containers. Leaves can be crushed or ground into a powder for sweetening beverages, baked goods, or recipes.
- Fresh Use: Fresh leaves can be used directly in teas or smoothies for a milder sweetness.
Frequent harvesting also encourages the plant to produce more foliage, creating a sustainable cycle of leaf production.
Using Stevia as a Sugar Substitute
Stevia can replace sugar in many culinary applications:
- Beverages: Add fresh or dried leaves to tea, coffee, or smoothies. Stevia powder can be mixed directly into drinks.
- Baking: Stevia can replace sugar, but since it does not caramelize or provide bulk, recipes may need slight adjustments. Combining stevia with other natural sweeteners or thickeners works well.
- Cooking: Use stevia to sweeten sauces, dressings, or desserts. Fresh leaves impart a gentle sweetness and subtle herbal flavor.
Homemade stevia allows you to control sweetness and avoid additives commonly found in commercial products.
Seasonal Care and Overwintering
Stevia is frost-sensitive and perennial in warm climates:
- Summer Care: Ensure consistent watering and sunlight. Stevia thrives in warm, sunny conditions.
- Winter Protection: In colder regions, bring container-grown plants indoors before frost. Place near sunny windows or under grow lights.
- Pruning Before Dormancy: Cut back stems before winter to encourage vigorous spring growth.
- Root Survival: Container plants can be kept indoors, or garden plants may die back in frost but regrow from roots in warmer seasons.
Seasonal management ensures you can enjoy stevia year after year, regardless of climate.
Common Challenges and How to Overcome Them
Even a hardy plant like stevia can face challenges:
- Slow Growth from Seed: Use cuttings or young plants to speed establishment.
- Loss of Sweetness: Flowering reduces sweetness. Pinch off flowers to maintain glycoside levels.
- Pests: Monitor for aphids or mites; natural sprays or pruning solves minor infestations.
- Fungal Issues: Avoid overwatering and ensure proper spacing for airflow.
By anticipating these challenges, gardeners can maintain healthy, productive stevia plants with minimal frustration.
Advantages of Growing Your Own Stevia
Growing your own stevia offers multiple benefits:
- Natural Sweetener: Avoids artificial additives and preservatives.
- Cost Savings: Store-bought stevia products can be expensive; home cultivation is economical.
- Sustainability: Reduces packaging waste and reliance on commercial production.
- Flavor Control: Harvest when leaves are at peak sweetness and use fresh or dried according to preference.
Homegrown stevia is fresh, environmentally friendly, and completely under your control.
Conclusion
Yes, you can grow your own stevia for a natural sugar substitute, whether in a backyard garden, raised bed, or even a sunny windowsill. By understanding the plant’s needs—warmth, sunlight, well-draining soil, and moderate care—you can cultivate healthy, bushy plants that provide sweet leaves throughout the growing season. Starting from seeds, cuttings, or nursery plants, maintaining proper watering and pruning, and harvesting leaves before flowering ensures the highest sweetness.
Growing stevia at home not only allows for a fresh, natural alternative to sugar but also gives you the satisfaction of producing your own healthy sweetener. With minimal effort, a little patience, and seasonal care, anyone can enjoy this calorie-free, herbaceous delight, transforming everyday recipes into naturally sweetened masterpieces straight from the garden.